Hello, pasta community!
If you’ve been here a while, you might remember a few of the projects I did in collaboration with John Welch (John Francis Designs) and his brilliant hand-crafted pasta molds. We first teamed up in November to bring you “sunburst ravioletti” filled with pears and pecorino. Then, in February, we turned those tiny pasta parcels into a bouquet of pink ravioletti flowers destined for Valentine’s Day tables. Now, as spring blooms into summer, we’re back to bring you something else entirely: retro ravioli.
The sunburst and floral ravioletti molds are similar in their construction—a grid of nine bite-sized pieces—but this “triple groovy” mold is different. Here, three full-sized ravioli are stacked together. This still allows you to crank out several pieces at a time, but John was especially clever with the proportions: The narrow mold fits precisely twice into the width of a typical pasta sheet, meaning you can make a full set of these ravioli (tops and bottoms) with zero waste. (Check out the video above to see what I mean.)
The design itself is inspired by the funky, geometric patterns of the 1970s. When John and I were first brainstorming recipes that would fit this retro theme, the first thing that came to mind was pasta primavera, literally “spring pasta.” Although now distinctly unfashionable, spaghetti primavera was once Manhattan’s trendiest plate of food. It was (probably) invented by New York restaurateur Sirio Maccioni of Le Cirque, where it was served as an off-menu item until it was popularized by The New York Times in 1977 and became a hallmark of ‘70s American cooking. The original version featured what Times writer Amanda Hesser later called a “mad jumble of vegetables” (broccoli, zucchini, asparagus, peas, mushrooms, tomatoes), plus plenty of butter, cream, and cheese. I decided to combine this vegetal ethos with the vintage color palette of the ‘70s (“avocado green” kitchens were in) via a very vernal bag of peas—plus some beautiful local asparagus—and see what happened.
The result did not disappoint: This was the best stuffed pasta dish I’ve made in quite some time.
—Meryl
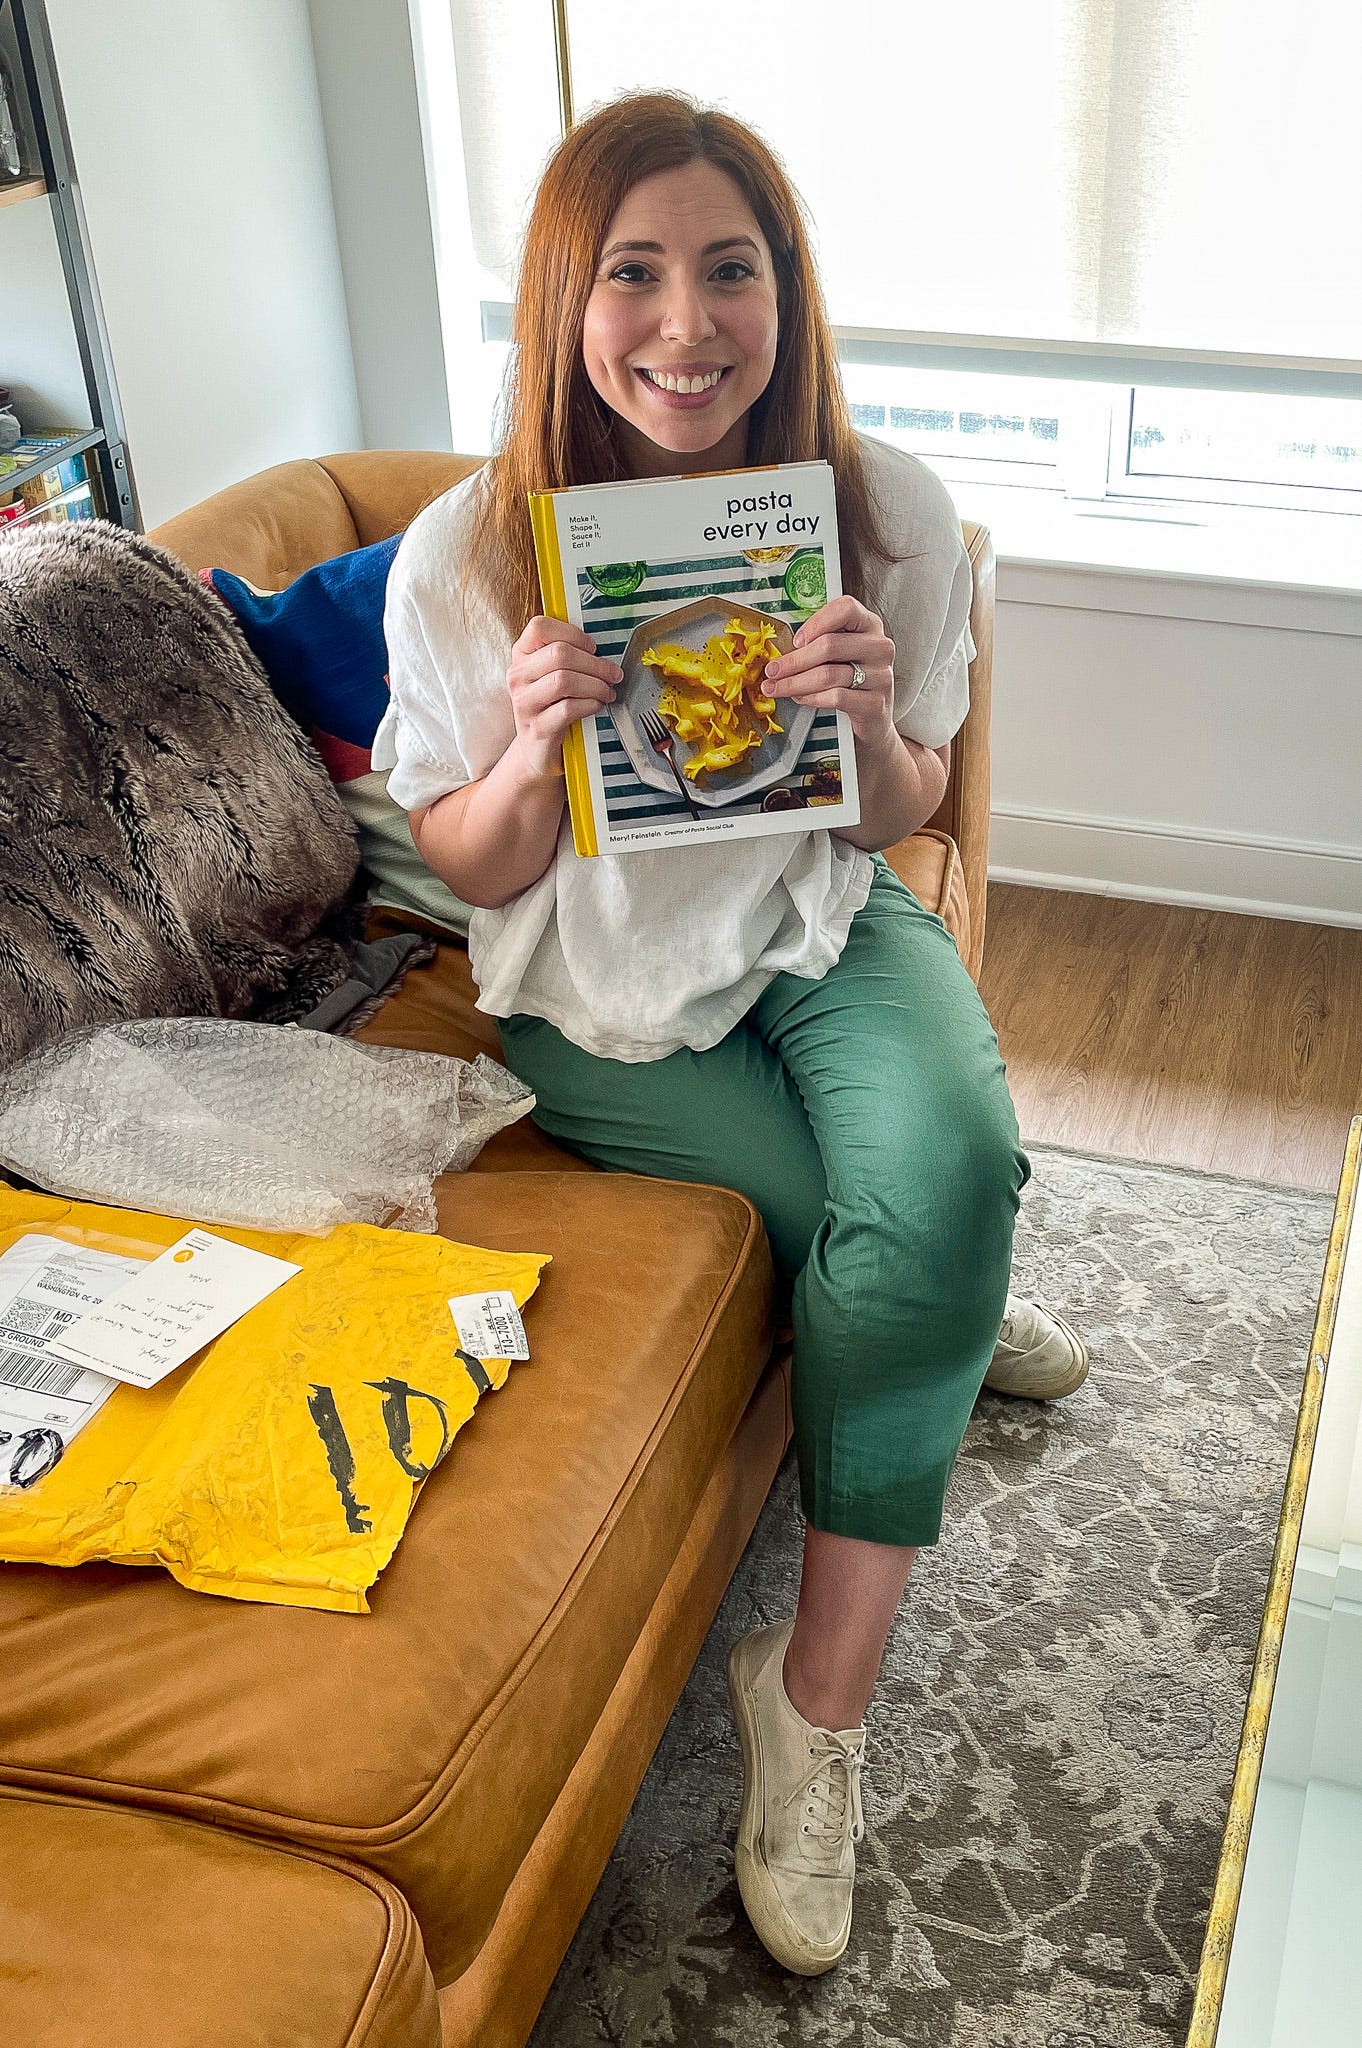
PS: In other exciting news, I received a physical copy of my cookbook this week! Here’s a video of the big moment, and you can learn more about about the book via the post linked below. It’ll hit shelves September 12, but you can get a head start and preorder here (we love preorders!!). Your support means so much to me!
Retro Ravioli
Serves 4
For the pea pasta dough
150 grams (1¼ cups) fresh or frozen sweet peas
50 grams (about 1 large) egg
60 grams (about 3 large) egg yolks
350 grams (about 2¼ cups) ‘00’ pasta flour or all-purpose flour
50 grams (about 5 tablespoons) semola rimacinata or semolina flour
For the pea & mint filling
30 grams (2 tablespoons) unsalted butter
1 small shallot, minced
185 grams (1½ cups) fresh or frozen sweet peas
Kosher salt and freshly ground black pepper
285 grams (10 ounces) high-quality full-fat ricotta
30 grams (1 ounce) finely grated Parmigiano-Reggiano
A small handful fresh mint leaves
For serving
115 grams (½ cup) cold unsalted butter, cut into tablespoons
225 grams (8 ounces) asparagus, trimmed and cut on the bias into ½-inch pieces
Kosher salt
Finely grated Parmigiano-Reggiano
Fresh mint leaves
Equipment
Work surface, preferably wooden
Manual pasta machine or electric pasta roller attachment
Sharp knife or pasta wheel
Triple Groovy Ravioli mold (or any of John’s beautiful molds!)
Pastry brush (optional)
Rolling pin
For the pasta dough
Bring a medium saucepan of water to a boil. Add the peas and cook until tender and vibrant, 30 seconds to 1 minute. Immediately drain and run under cold water to stop the cooking (or plunge the peas into an ice bath).
Transfer the peas to a small blender and purée until very smooth—if needed, add a tablespoon or two of water to get the blender running. The purée can be made a few days ahead and refrigerated in an air-tight container. Any leftovers can be frozen for up to 3 months.
Whisk together 125 grams (about ½ cup) of the pea purée with the egg and yolks. Make the dough by hand or in a food processor according to the directions in this post. Let the dough rest, tightly covered, at room temperature for at least 30 minutes and up to 2 hours.
For the filling
In a skillet, melt the butter over medium heat. Add the shallot and cook, stirring occasionally, until softened, 3 minutes. Stir in the peas and cook until tender and warmed through, about 3 minutes more. Season to taste with salt and pepper. Let cool completely.
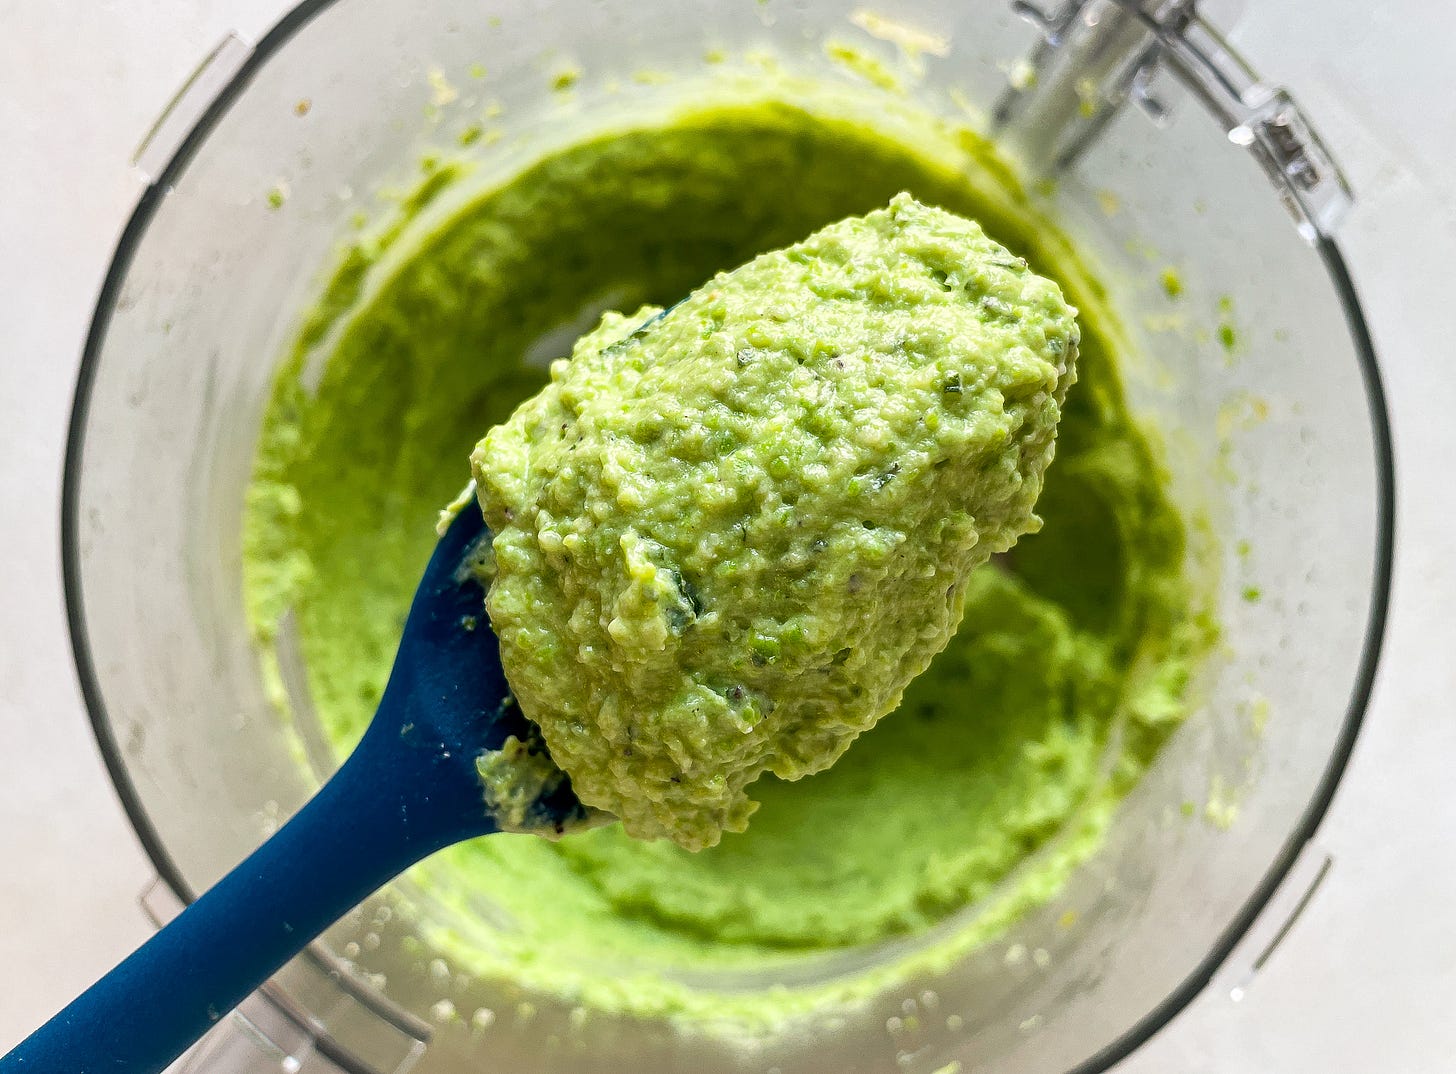
Transfer the pea mixture to a food processor and pulse until smooth. Add the cheeses and a big pinch each of salt pepper. Process until well combined, scraping down the sides of the bowl as needed. Add the mint and pulse in short bursts until it’s chopped and evenly distributed. Adjust seasoning to taste.
Transfer the filling to a bowl or piping bag and refrigerate for at least 30 minutes or until ready to use. The filling can be refrigerated in the sealed piping bag or an air-tight container for up to 3 days.
For the ravioli
Set up your workspace and roll the pasta sheets according to these instructions.
Cut the pasta sheet into rectangles:
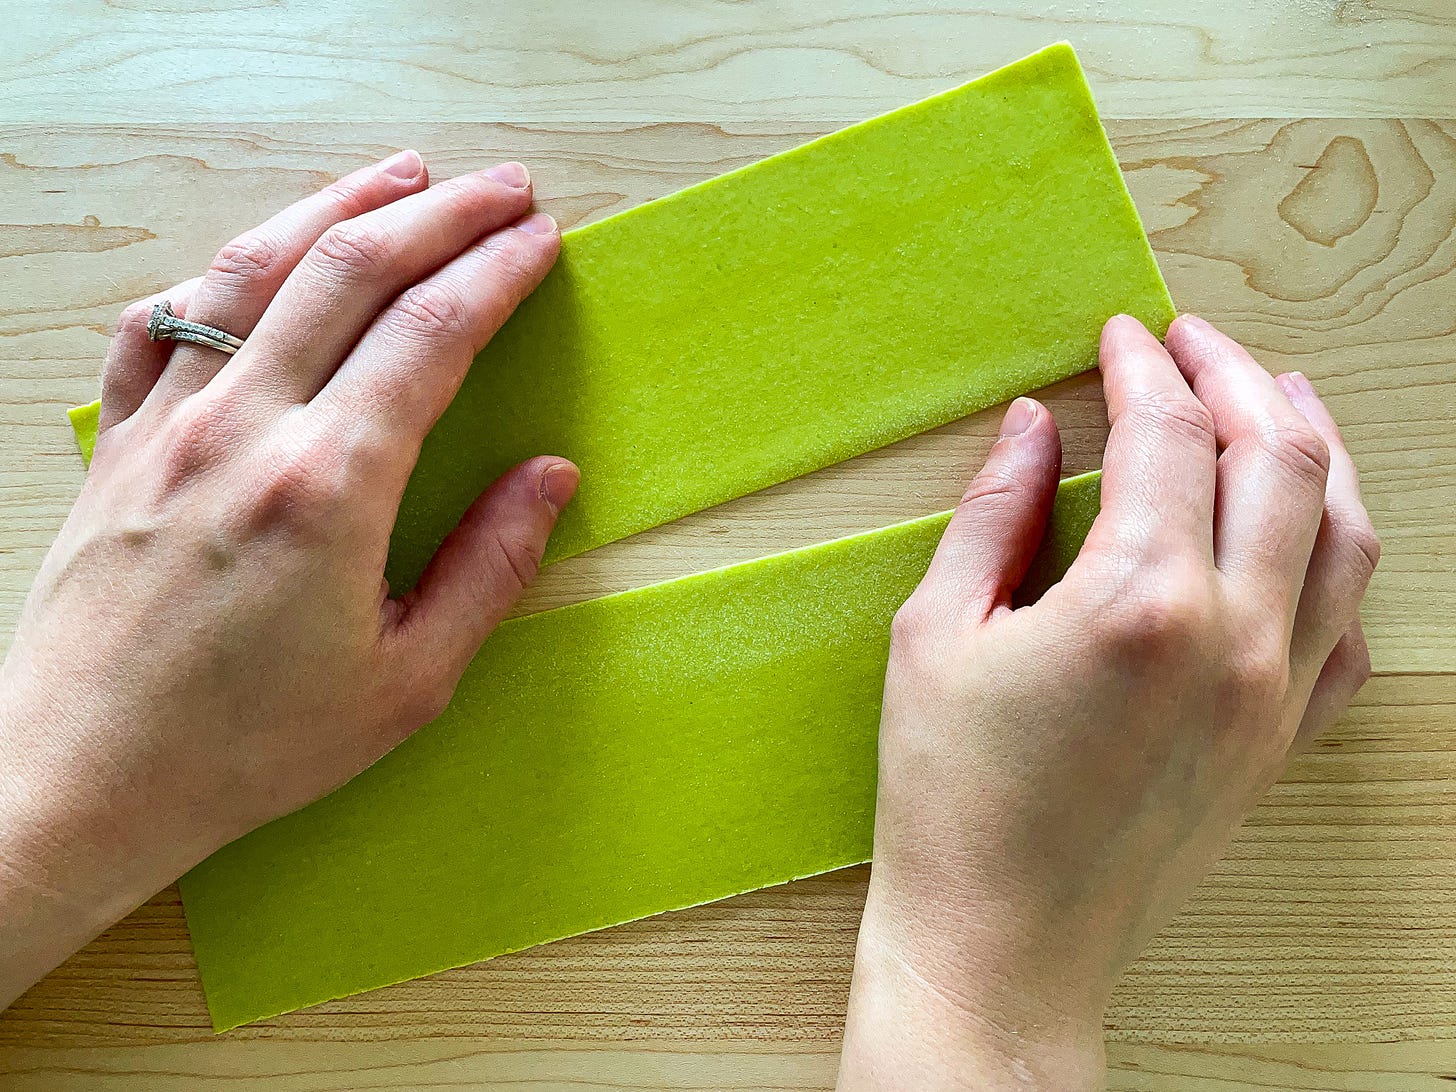
Trim any uneven edges from the pasta sheet (you can ball up the scraps, cover them, and reuse them after the fresh dough is gone). Cut the sheet into sections that are slightly longer than the size of the mold (in this case, about 10 to 12 inches—it’s okay if you can only get one). Fold the section in half lengthwise, like a letter, and make a crease at the midpoint. Unfold it and cut along the crease so you have two long rectangles, each roughly 10-12 x 3 inches.
Assemble the ravioli:
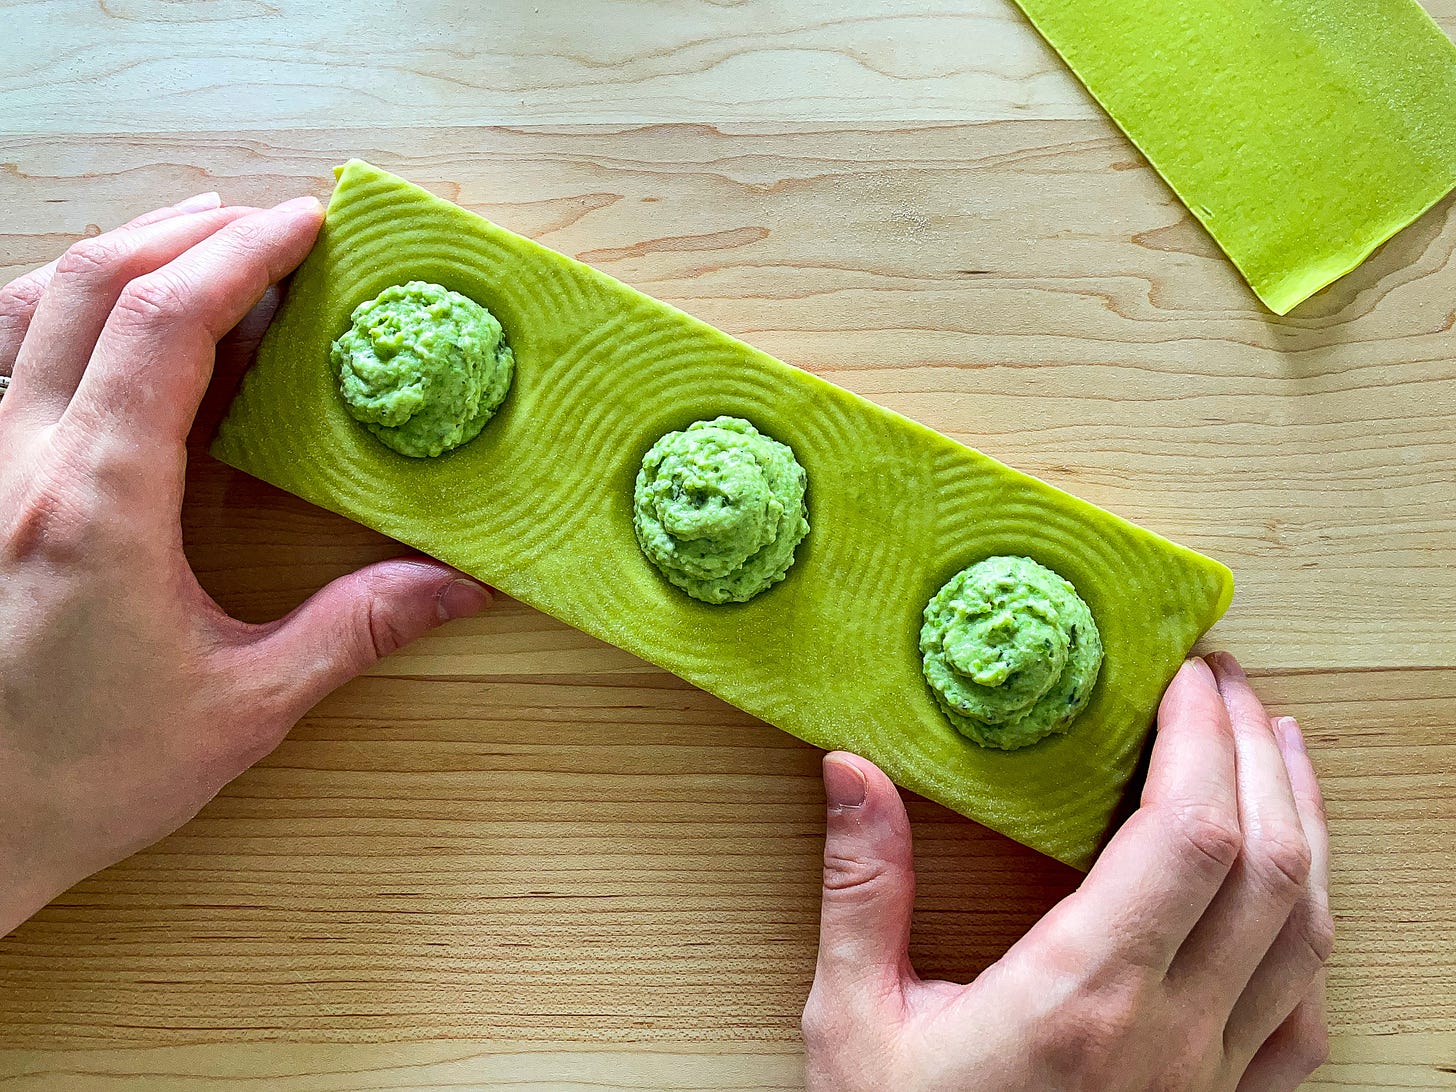
Lightly dust one side of one of the rectangles with ‘00’ or all-purpose flour and cover the remaining rectangle(s) with a damp dishcloth so it doesn’t dry out. Position the rectangle floured-side down on top of the ravioli mold.
Using your fingers, a large clean paint brush, or a pastry brush, gently press the pasta into the mold, making sure to push into each filling pocket and paying particular attention to the carved details. It’s okay if the pasta doesn’t reach the bottom of each filling nook—the filling itself will do that for you later.
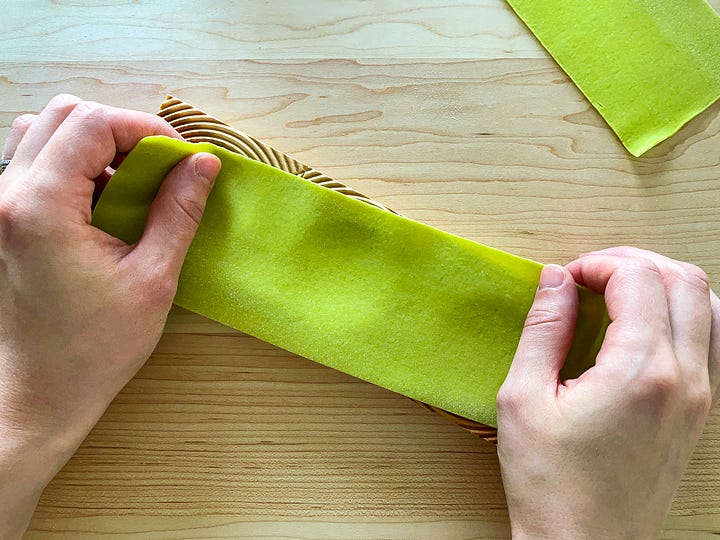

Pipe or spoon some filling into each pocket—don’t worry if it pops up above the mold a little. Use your finger or a pastry brush to brush some water between the filling pockets and on the edges.
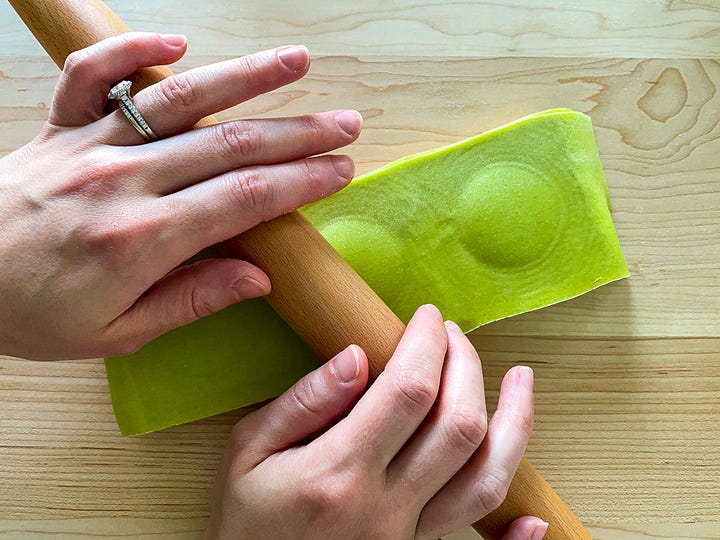
Lay another pasta rectangle on top of the filling. Use your hands to firmly press down—you’ll feel the filling dropping further into each pocket. Then use a rolling pin with very gentle pressure to seal the sheets together and further imprint the design, going back a forth a few times. (I found this to be a little tricky, so here’s what worked best for me: first press straight down with the rolling pin at various points across the pasta and then roll back and forth—this prevented the dough from bunching and warping.)
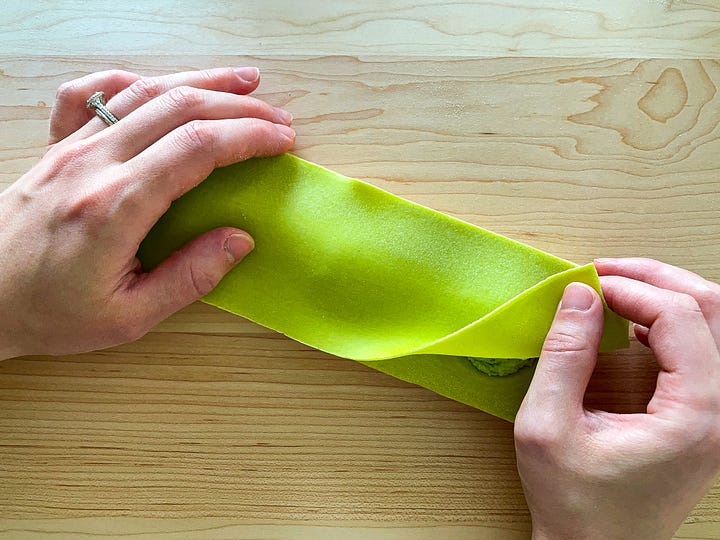
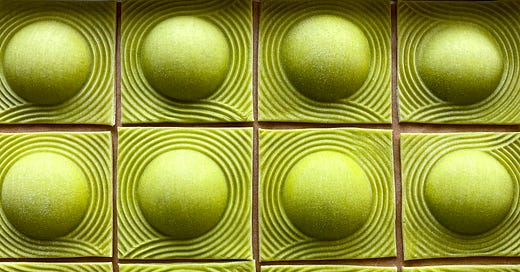
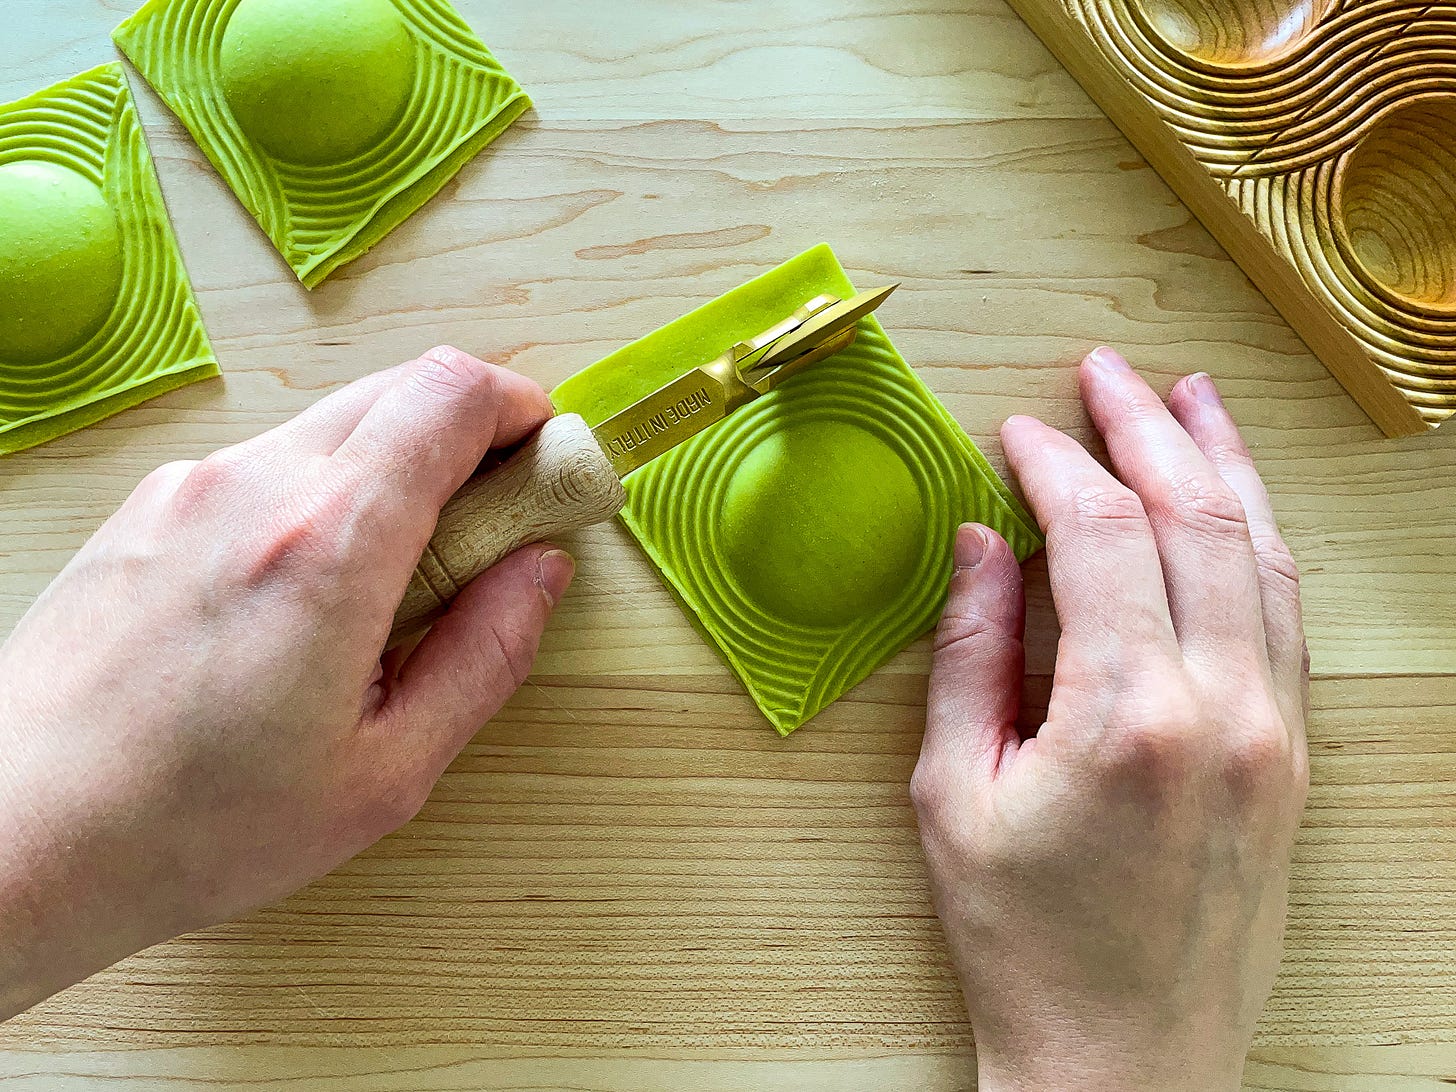
Carefully flip the mold over and release the ravioli. Use a knife or pasta wheel to trim the excess dough away, then cut between the pieces.
Arrange the ravioli in a single layer on the prepared sheet pan. Repeat the process with the remaining pasta rectangles, and then with the remaining dough and filling.
For serving
Bring a large pot of water to a gentle boil, then season it generously with salt.
Heat a large skillet or sauté pan over medium-high. Use a ladle or heatproof measuring cup to scoop 60 ml (¼ cup) pasta cooking water into the pan and bring to a lively simmer. Turn the heat to low and add half of the cold butter, one piece at a time, and whisk constantly after each addition. Add the asparagus, then continue adding the rest of the butter until melted and emulsified. Continue to cook, stirring often, until the asparagus is crisp-tender, 3 to 5 minutes. Season to taste with salt and keep warm over the lowest heat, stirring occasionally.
Gently drop the ravioli into the pot of boiling water, shaking off any excess flour before you do so, and stir briefly to prevent sticking. Cook, stirring occasionally, until the pasta is tender, 2½ to 3 minutes.
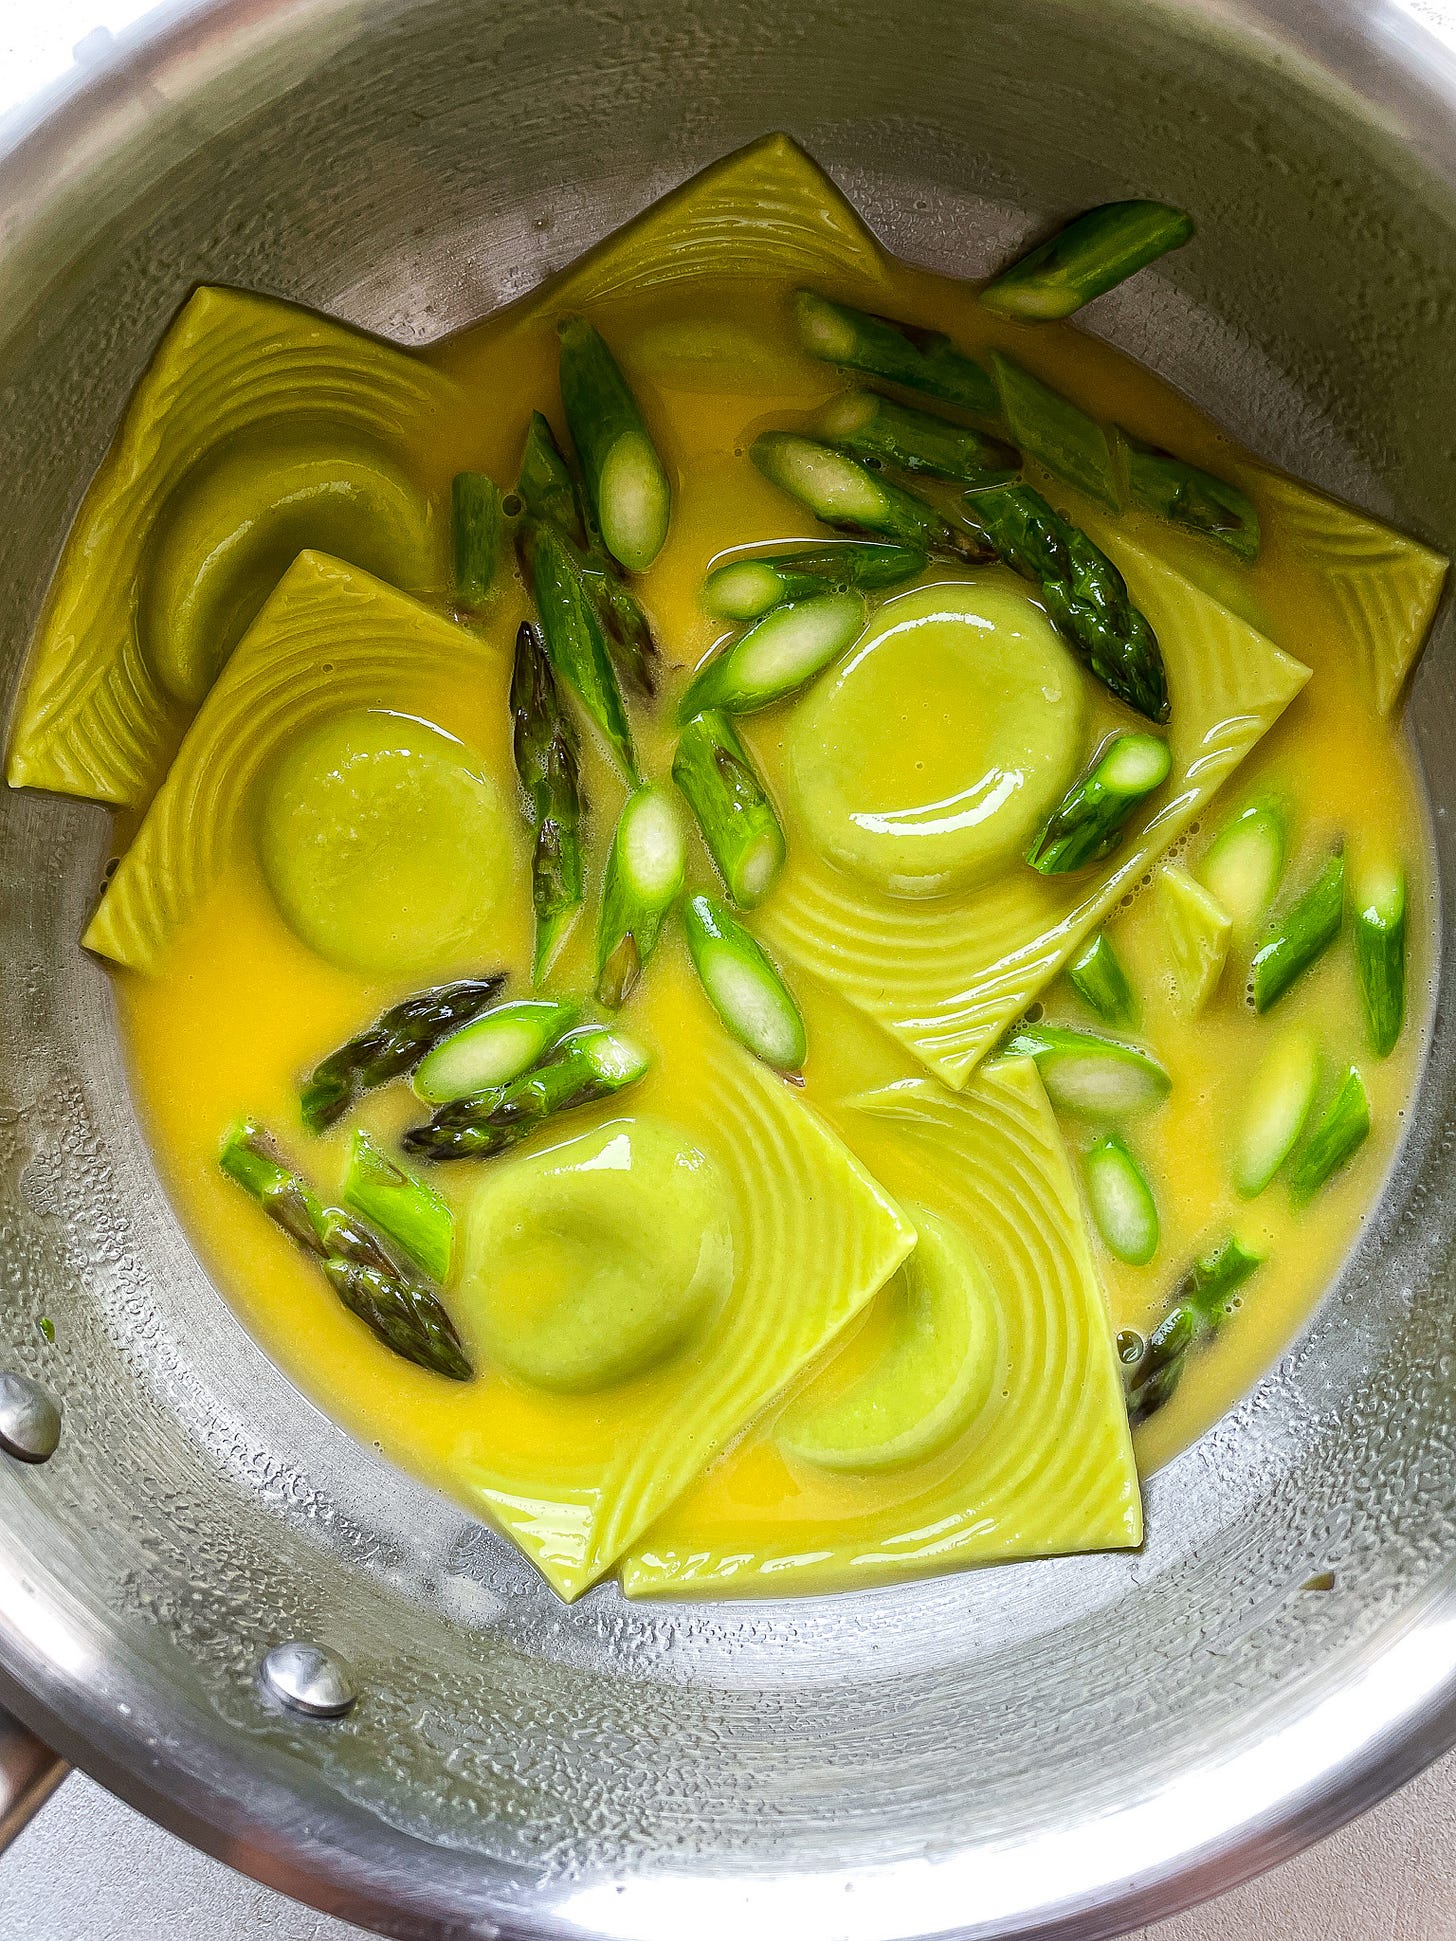
With a spider sieve or slotted spoon, transfer the pasta to the butter sauce and swirl the pan until the pieces are well coated.
Divide the ravioli among plates. Spoon more of the butter sauce and asparagus on top and finish with the Parmigiano and mint. Serve immediately.




so fun, wow this is dreamy. And so simple. Time to invest in ravioli molds!
That looks delicious. I love pasta primavera.