


When I first started making pasta, I amassed a small collection of reference books to guide me through the deep and murky underworld of edible shapes. And of all the books I bought, Oretta Zanini De Vita’s Encyclopedia of Pasta was the one I picked up again and again. I’d wager it’s still the most comprehensive compilation of pasta shapes, but it’s also a small book that could more easily pass as a Jane Austin novel than a cook’s companion—mainly because it doesn’t have any pictures. Glossy images are, instead, replaced by occasional black-and-white illustrations, and so, as a visual learner, I clung to these little sketches like gold. Which brings me to how I came across our inaugural pasta of the month: fusi istriani.
The Encyclopedia’s version of fusi istriani is a beautiful, origami-like pasta entirely different from any other shape I’d seen. Here’s the illustration:
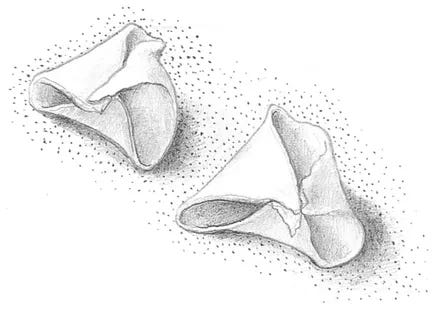
Zanini De Vita’s description of this pasta, which translates to “Istrian spindles,” instructs the maker to roll an egg-based dough into a sheet, cut the sheet into small triangles, and press two points of each triangle together. These instructions and the illustration don’t quite align—and there’s no mention of how to get that hollow interior—so I ignored the text and focused on replicating the image. I used a ruler and a paring knife to carve out my triangles, then folded the points over a pencil to keep them from collapsing in on themselves. It was a lengthy affair, but I was very pleased with myself by the end of it and served the pasta I’d made with tomato sauce.

As a novice, I never questioned the Encyclopedia. But in the world of pasta, like all food traditions, it’s important to remember that there is never one way to do something. Every town, every village, and every family has its own version of the same dish, and all of these make up a beautiful and chaotic pasta tapestry (too much?). In that respect, fusi istriani are no different.
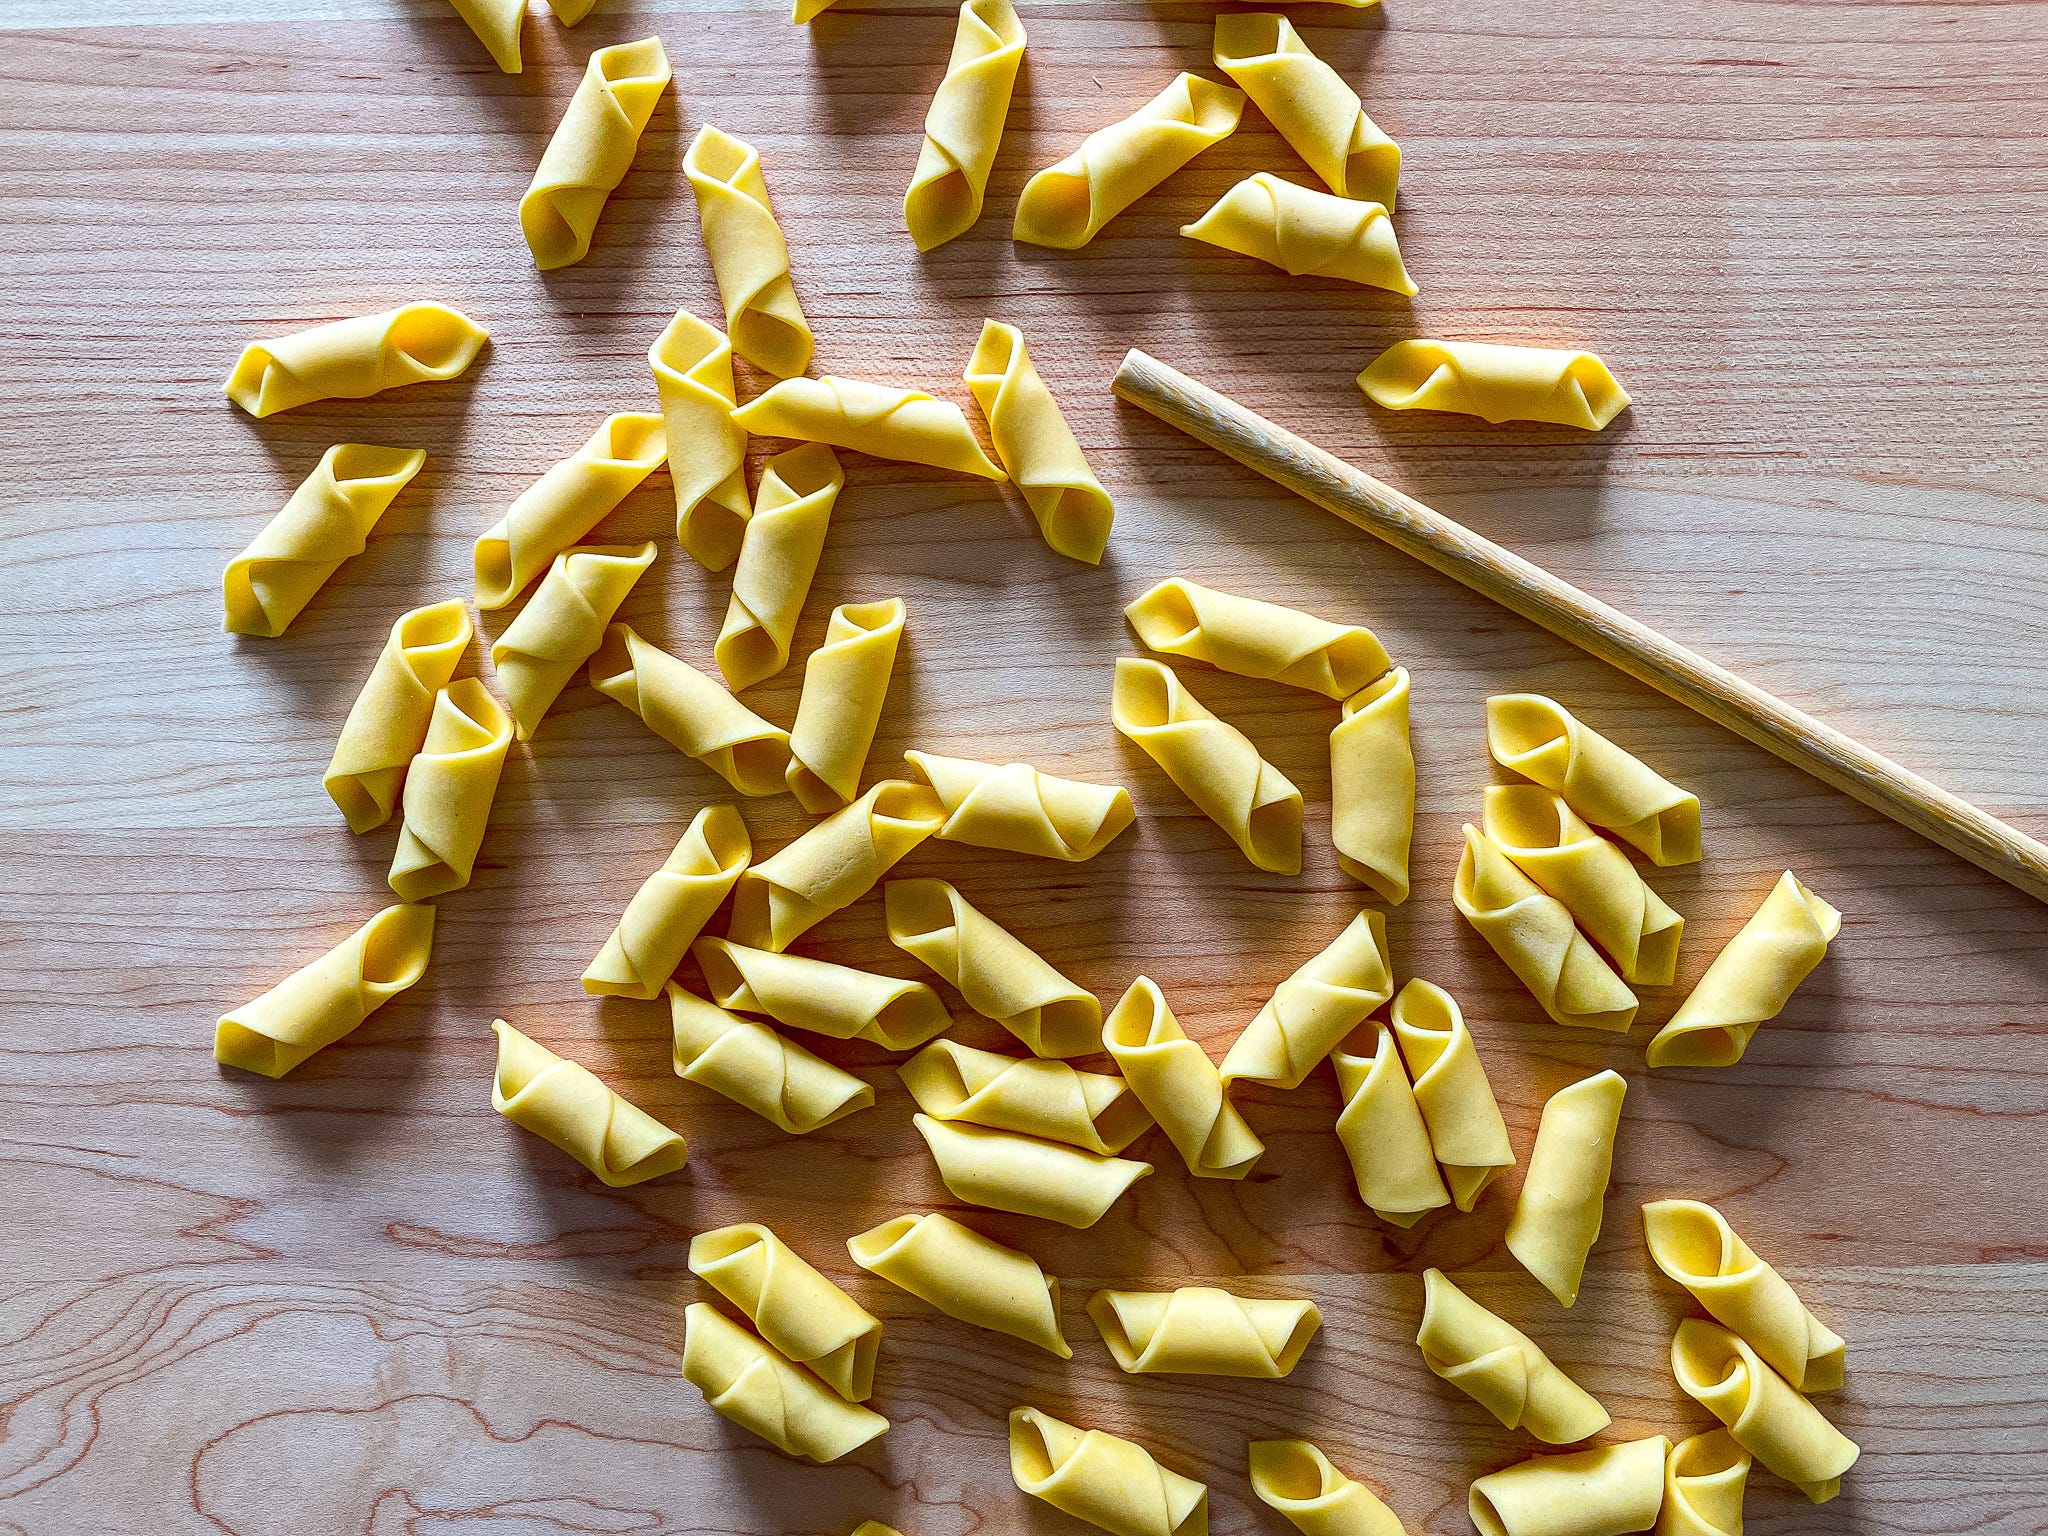
In the years since I first made this shape, I’ve stumbled across it a few more times. But none of the fusi istriani I’ve seen look anything like Zanini De Vita’s. Google “fusi istriani” now and the first result is a Pasta Grannies YouTube video. In it, a jovial group of grandmothers make a different kind of dough (mostly water instead of eggs), roll it into a sheet, and cut that sheet not into triangles but diamonds. Each diamond is wrapped around a wooden stick called a “fusolo” (not unlike a spindle), and the result looks like a cross between smooth garganelli (similar to penne) and a cornetto.
The stark differences between how this pasta is made is almost my favorite thing about it. My actual favorite thing about it is where it’s from: Istria.
Istria is only a short ferry ride from Venice across the Adriatic. It’s a peninsula that today straddles Croatia (in the south) and Slovenia (in the north), with a tiny sliver of coastline that belongs to Italy. The region was first settled by the Romans, and for centuries it was governed by the Venetians and the Austrians. In the 19th century, Istria was part of the Austro-Hungarian empire, ruled by the Hapsburgs; after World War I and World War II, it changed hands between the Italians and Yugoslavians, respectively, before being split, in 1991, between Croatia and Slovenia. And although now only a very small piece of Istria is part of Italy, Italians make up the third most populous group in the region.
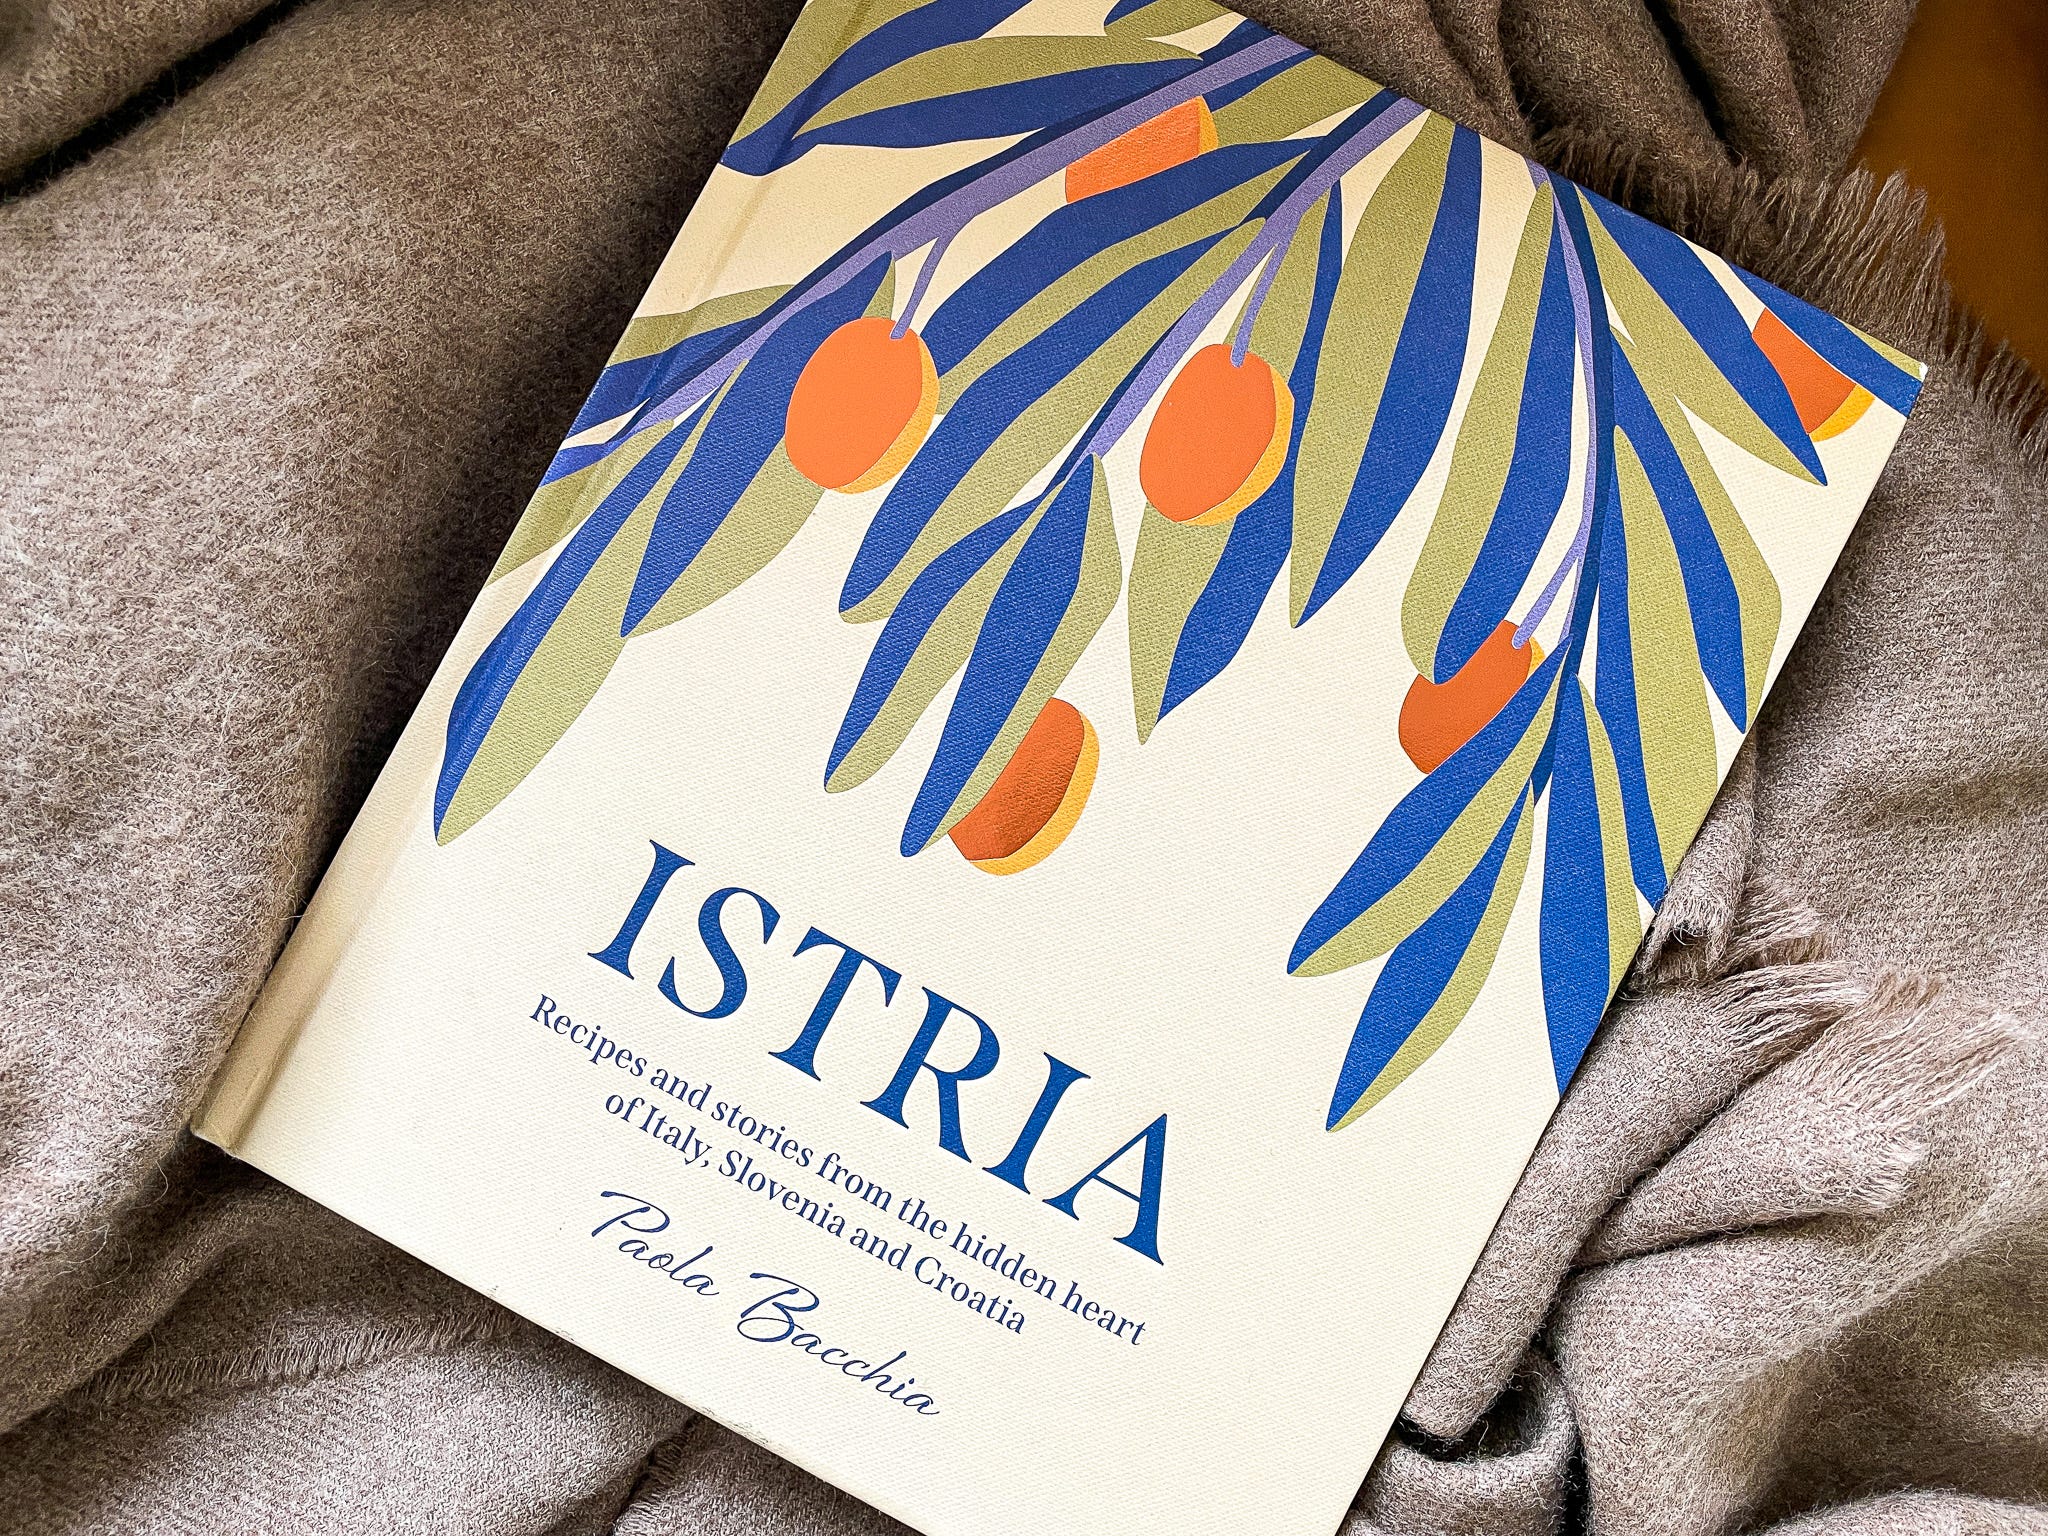
Istria’s cultural identity, like its borders, is fluid. I haven’t been there (yet), so it’s hard to fully express how this rich history has shaped its people, traditions and, of course, its food. Luckily, a couple of years ago, food writer Paola Bacchia published a cookbook all about her Istrian family and their recipes, so I’ll let her introduction do the talking:
“In Istrian kitchens, Venetian seafood stews served with polenta sit side by side with hearty Hungarian-style goulash; ravioli with ricotta is effortlessly followed by Balkan flame-grilled meats on a skewer. All are accompanied by the salad greens and vegetables that grow in abundance on the peninsula, followed by desserts that you might find in a Viennese coffee shop, or in the cafes of Trieste.”
Unsurprisingly, centuries of Italian influence means plenty of pasta to go around. Favorites include short and tapered hand-rolled noodles called pljukanci (“macaruni” in Bacchia’s book), semi-sweet ravioli known as krafi, and a variety of potato gnocchi. Fusi (istarski fuži in Croatian) are also one of the most popular Istrian pastas, and they’re typically served with meat—sometimes chicken, hare, or other game; sometimes beef—or truffles. The fusi depicted in Bacchia’s book are similar to the ones in the Pasta Grannies video, and she serves them with a vegetarian tomato sauce spiked with cinnamon and studded with peas.
Below (and in the video above) I’ll show you how to make Bacchia’s and Zanini De Vita’s variations of these Istrian spindles. For both, I use a thin wooden dowel from a garganelli board, but a pencil or the handle of a wooden spoon work great, too. And although I’d recommend a pasta machine for the triangular version, the penne-like fusi dough is softer and thereby more easily rolled by hand, so you can grab your rolling pin.
I’ll be tinkering with some sauce recipes for these soon (more to come!), but in the meantime, I hope you’ll give them a try!
fusi istriani, two ways


Dough | Method 1 (Triangles)
400 grams (approx. 2⅔ cups) ‘00’ pasta flour or all-purpose flour
225 grams eggs (approx. 4 large eggs plus 1 to 2 yolks)
Dough | Method 2 (Diamonds)
400 grams (approx. 2⅔ cups) ‘00’ pasta flour or all-purpose flour
100 grams (approx. 2 large) eggs
¾ teaspoon kosher salt (optional) dissolved in 100 ml (approx. ½ cup minus 1 tablespoon) tepid water
Equipment
Work surface, preferable wooden (a large cutting board works great)
Manual pasta machine or electric pasta attachment (or, if you don’t have one, a rolling pin for method 2)
Metal bench scraper or sharp knife
Accordion/bicycle pastry cutter or paring knife
Thin wooden dowel (from a garganelli board, a wooden spoon handle, or a pencil), about ⅓ inch in diameter
2-inch triangular cookie cutter (very optional)
Sheet pan or other tray for storing finished pasta
Directions
Make the dough:
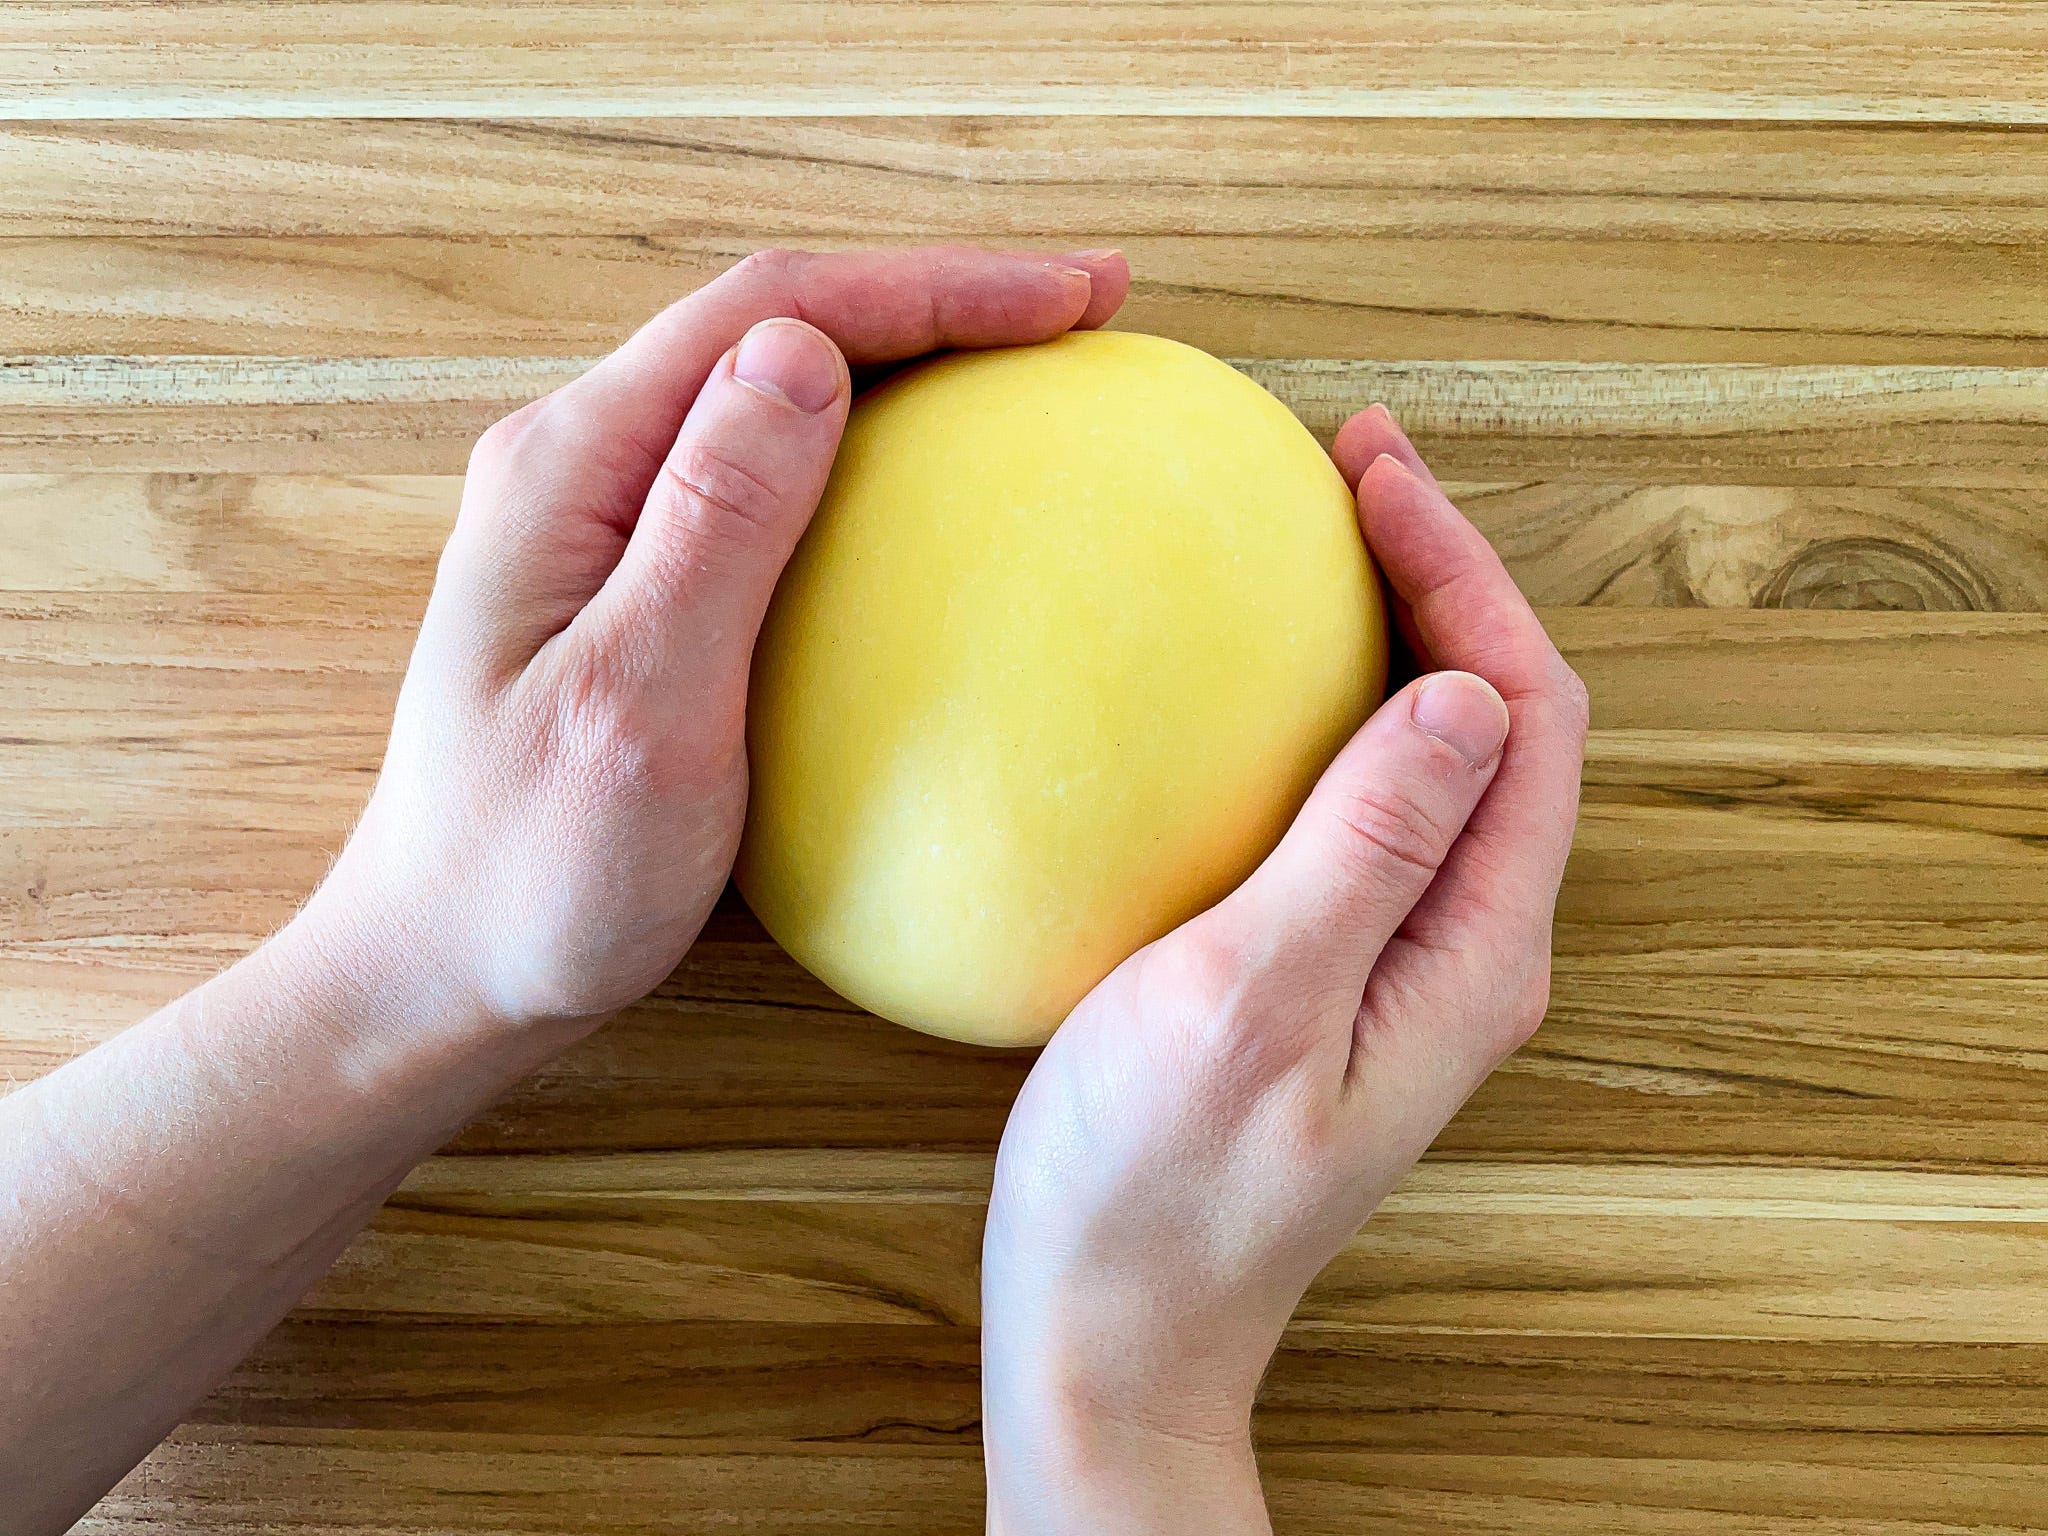
Make the dough by hand or in a food processor according to the directions in this post. Let it rest, tightly covered, at room temperature for at least 30 minutes and up to 2 hours.
Set up your workspace:
While the dough rests, set up your pasta machine and gather your tools. Line a sheet pan or tray with parchment paper, or dust it with a thin layer of semolina.
Roll the pasta sheets:
Cut off a quarter of the dough and re-wrap the rest. On your work surface, flatten the section of dough with your palm into an oval-shaped pancake that’s about ¼-inch thick. Press the dough between your fingers to thin it out as needed. If it feels tacky, dust the dough with some ‘00’ or all-purpose flour.
Set your pasta machine to its widest setting. Position one tapered end of the oval in the center and roll it through once—you should be left with a longer, thinner oval.
Position the dough lengthwise on your work surface. Then fold the two tapered ends into the center like an envelope so the length is the same or similar to the slot of the pasta roller (about 6 inches; it doesn’t matter if the tapered ends overlap or if there’s space between them). Flatten the dough again with your palm/fingers so it’ll go through the machine easily.
Line up the bottom edge of the pasta envelope with the edge of the machine (the folded ends should run horizontally). Roll the dough through the machine on the same (widest) setting a second time—you should be left with a rectangular-ish piece of dough (it’s okay if the ends aren’t perfect!).
Continue rolling the dough through the machine one time on each progressive setting until you have a semi-thin sheet, dusting with ‘00’ or all-purpose flour as needed.
For both methods, roll the pasta sheet to setting 6 on both a Marcato Atlas 150 and KitchenAid machine. If using a rolling pin (method 2), roll the portion of dough 1 to 2mm thick, dusting with a little flour as needed—don’t drive yourself crazy and do the best you can!
Shape the pasta:
Method 1
Lay the pasta sheet horizontally on your work surface. Using a bicycle pastry cutter or a paring knife, cut the pasta sheet lengthwise into 3 even rows, each roughly 2 inches tall. Then, using the knife, cut the rows into triangles (each side should be about 2 inches; just eyeball it). Alternatively, cut the pasta sheet using a triangular cookie cutter.
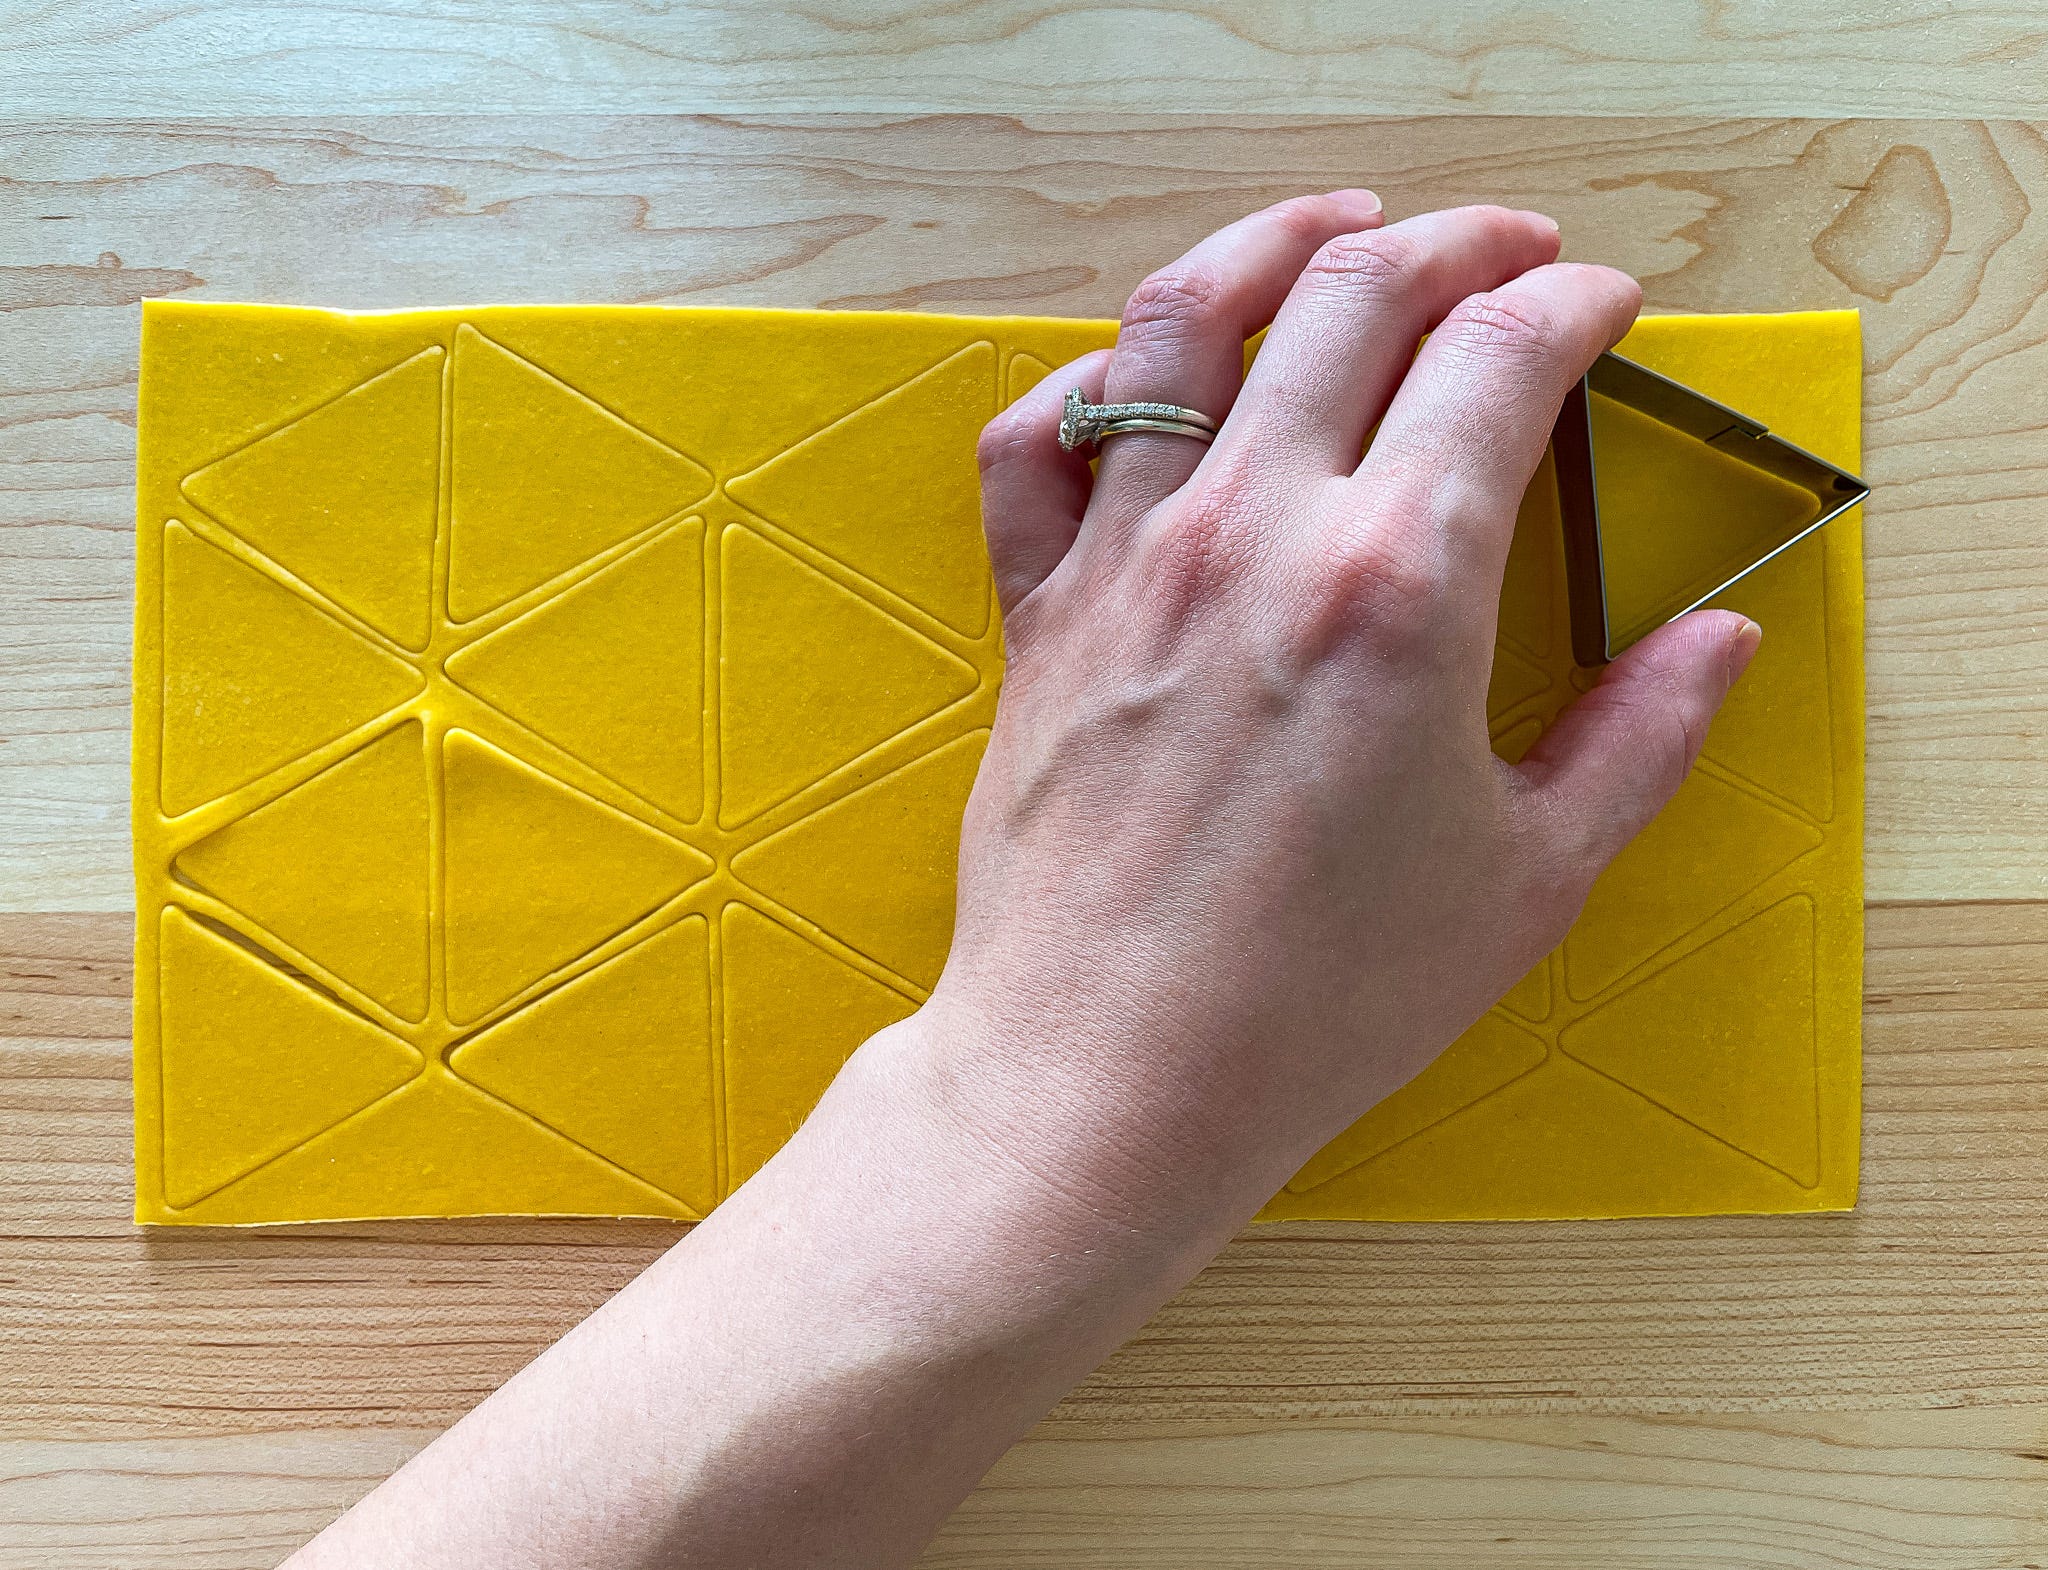
Place a triangle on your work surface, then place the dowel perpendicularly in the center. Fold the bottom two angles of the triangle inward, over the dowel, until they meet, then press firmly to seal. Bring the top angle of the triangle over the dowel to meet the others and press firmly once more. Remove the dowel.
Place the finished pasta on the prepared sheet pan. Repeat with the remaining triangles and then the remaining dough. If the unshaped triangles start to dry out as you work, cover them with a damp dish cloth.


Method 2
Using a bicycle pastry cutter or paring knife, cut the pasta sheet into roughly 1½-inch diamonds.
Position a diamond of dough with the wider angles top and bottom. Holding the diamond in your dominant hand and the wooden dowel perpendicularly in the other, wrap the diamond horizontally around the dowel, starting with one point until reaching the other. Press the seam of the dough firmly to seal, then twist the dowel to release the pasta.
Place the finished pasta on the prepared sheet pan. Repeat with the remaining diamonds and then the remaining dough.


Storage
To store the pasta for up to 3 months, freeze it as follows: Pop the tray in the freezer, uncovered, until the pieces are just-solid, about 25 minutes. Then, shaking out any excess flour, transfer the pasta to a freezer-safe bag and return to the freezer (it’ll taste better the sooner you cook it). Cook straight from frozen—just add about a minute to the cooking time.
Serving
To serve, bring a large pot of water to a boil, then season it generously with salt. Cook the pasta, stirring occasionally, until tender but not mushy, about 3 to 5 minutes, depending on thickness and personal preference (always taste-test!). Toss with your favorite sauce—might I suggest a meat ragù or a truffle cream sauce? :)

Share this post