Welcome to the Pasta Social Club newsletter, a celebration of all things pasta-making and -eating. If you like what you see, I hope you’ll spread the word—and if you’re interested in exclusive recipes, video tutorials, event access, and more, please consider a paid membership, which helps make Pasta Social Club possible.
Anyone can make great pasta, and all great pasta starts with great dough. Here are the recipes I use most often, and with them you can make almost any type of fresh pasta your heart desires. These are, of course, just the tip of the iceberg—don’t hesitate to experiment with different flours, liquids, colors, and other add-ins like chopped herbs and spices. You’ll see many dough variations in my recipes.
One thing I must impress: weigh your ingredients (please). Yes, the precision does make a difference, and doing so will best set you up for success. I’ve included volume measurements here, too, but your 1 cup of flour and my 1 cup of flour will be different—not to mention eggs vary significantly in size—and the last thing I want is for you to get frustrated and never make pasta again! So, if you don't already own a kitchen scale, I highly recommend getting one for all your pasta (and cooking and baking) needs—my choice is Escali but any digital scale with grams, ounces, and pounds and ounces works great.
On serving sizes: I usually estimate 100 grams of flour per person, so these recipes serve 4, more or less. You can adjust the ratios as needed, but I recommend making at least 2 servings (200 grams of flour) for best results.
Egg Pasta Doughs
What they’re used for: Most stuffed pastas (ravioli, tortellini, agnolotti) and long strands (tagliolini, fettuccine, tagliatelle, pappardelle), as well as some short-cut shapes (garganelli, farfalle) and lasagne sheets.
Standard Egg Pasta Dough (Serves 4)
350 grams (approx. 2¼ cups) ‘00’ pasta flour or all-purpose flour
50 grams (approx. 5 tablespoons) semola rimacinata or semolina flour*
225 grams eggs (approx. 4 large eggs plus 1 to 2 yolks)
*Using semolina in egg pasta dough isn’t traditional, but I like it because it yields pasta with more bite and helps the dough hold its shape. If you don’t have it or prefer a very tender dough, replace it with 50 grams of ‘00’ or all-purpose flour.
Flour & Water Pasta Doughs
What they’re used for: With durum wheat (semolina), many hand-formed and dragged shapes (cavatelli, orecchiette, busiate, fileja), as well as some stuffed pastas (Sardinian ravioli called culurgiones) and some long strands. With soft wheat (‘00’ or all-purpose flour), some hand-formed shapes (pici, trofie, strozzapreti) and select stuffed pastas like ravioli Capresi from island of Capri.
Flour & Water Pasta Dough (Serves 4)
400 grams (a scant 2½ cups) semolina or semola rimacinata (finely milled semolina)
or
400 grams (a generous 2½ cups) ‘00’ pasta flour or all-purpose flour
200 ml (¾ cup plus 4 teaspoons) warm or tepid water*
*For pici, I use 185 ml (¾ cup) water and 15 ml (1 tablespoon) extra-virgin olive oil. For orecchiette, which benefit from a drier dough, start with 190 ml (¾ cup plus 1 teaspoon) of water and add more as needed.
Method
The method for making pasta dough by hand applies to all of the aforementioned recipes and is, more or less, as follows:
Weigh your ingredients: Weigh and combine the flour(s) in a large mixing or serving bowl. Weigh the liquid(s); for egg-based doughs, lightly beat the eggs and yolks together if you’d like.
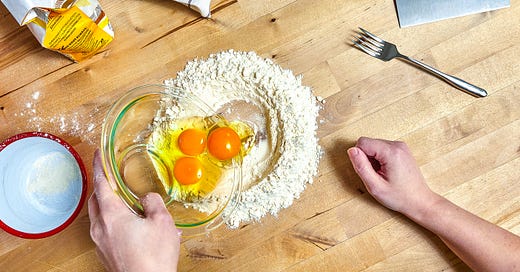
Make a well: Keep the flour in the bowl (for easy clean-up) or pile it onto a wooden cutting board or work surface (to keep it traditional). Make a wide well with your fist in the center of the flour—it’s totally fine to see the bottom of the bowl/board—and pour in the liquid.
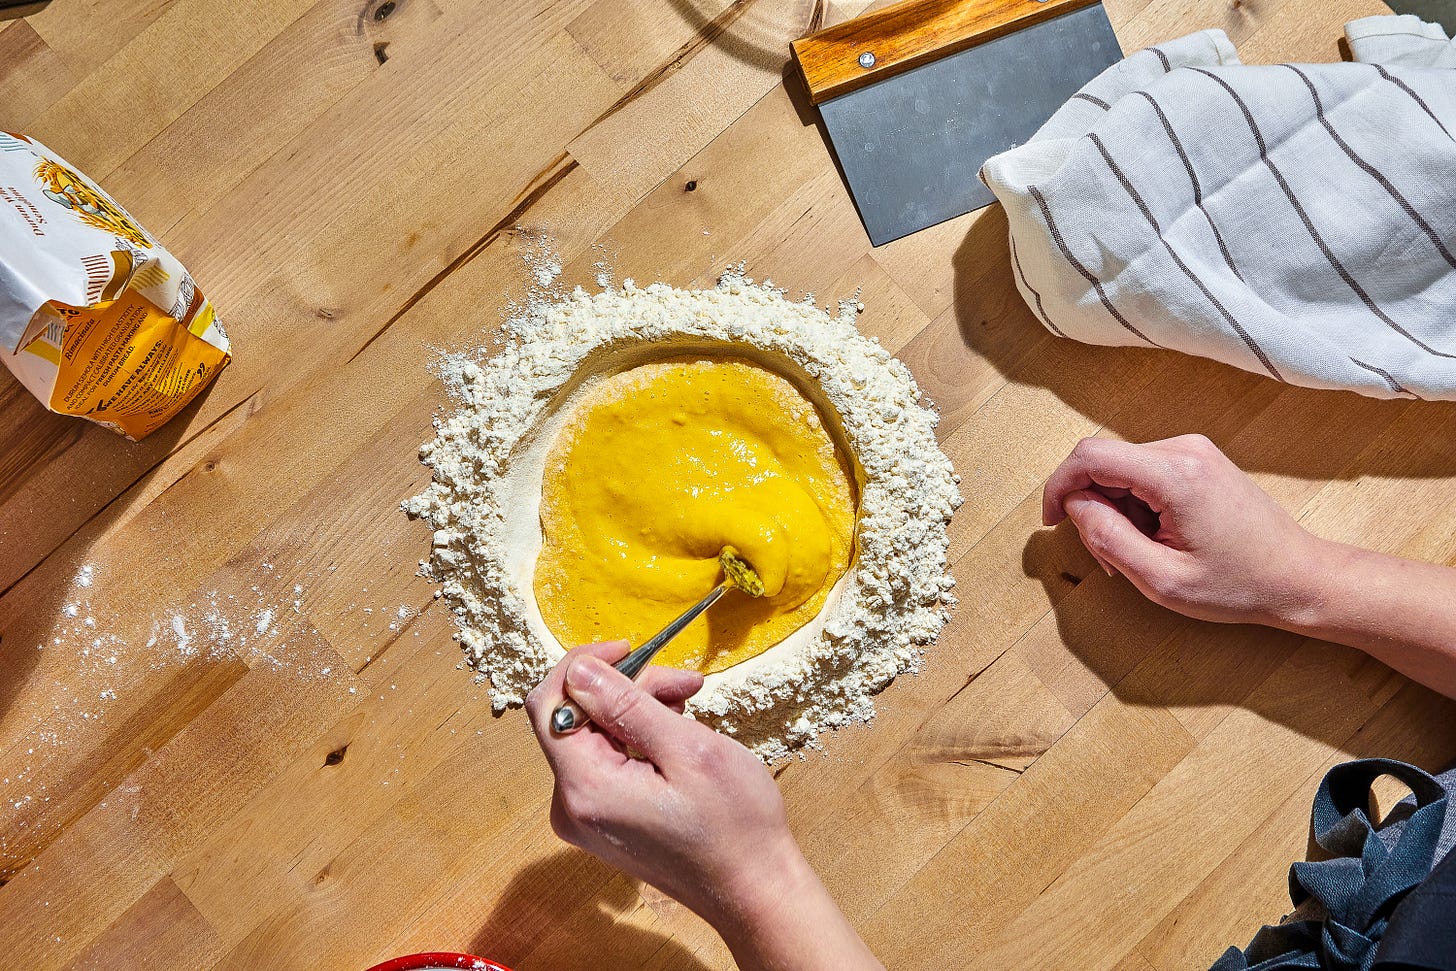
Start mixing: Using a fork, gradually incorporate some of the flour into the liquid in a circular motion (whisking a la scrambled eggs) until a thick, custard-like batter forms. I like to start by adding about a tablespoon of flour at a time from the inner rim of the well—you’ll only incorporate about a quarter of the flour at this time; most will remain loose around the edges.
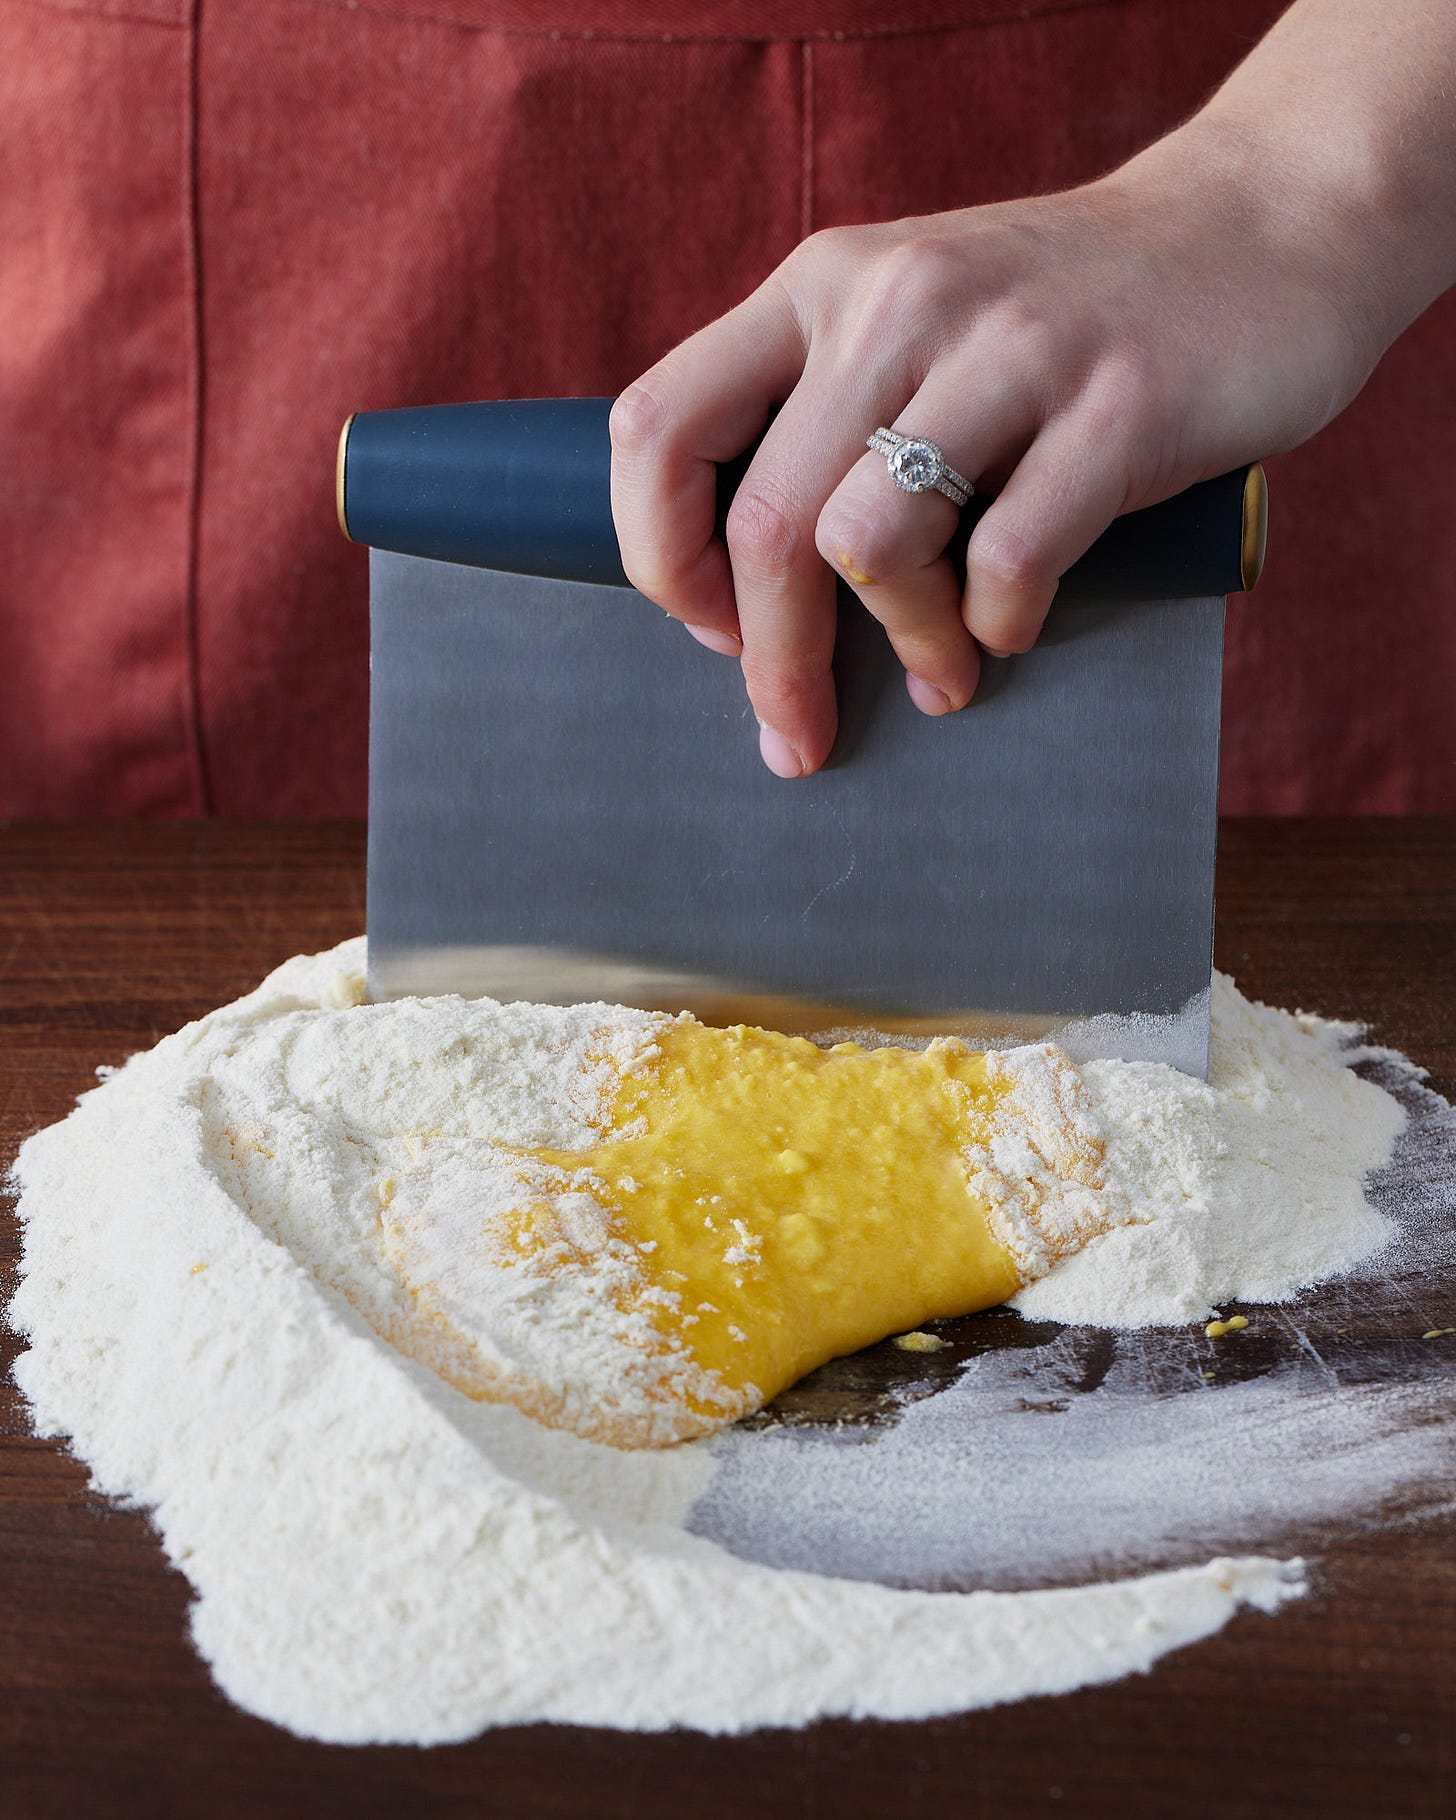
Bring everything together: When the custardy mixture is too thick to continue with the fork, bring the remaining flour into the center of the well with your hands (if using a bowl—I do a little fold-and-press motion from all sides) or a bench scraper (if using a work surface—just scoop and cut the flour and liquid together). If it’s shaggy and a total mess, you’re doing it right.
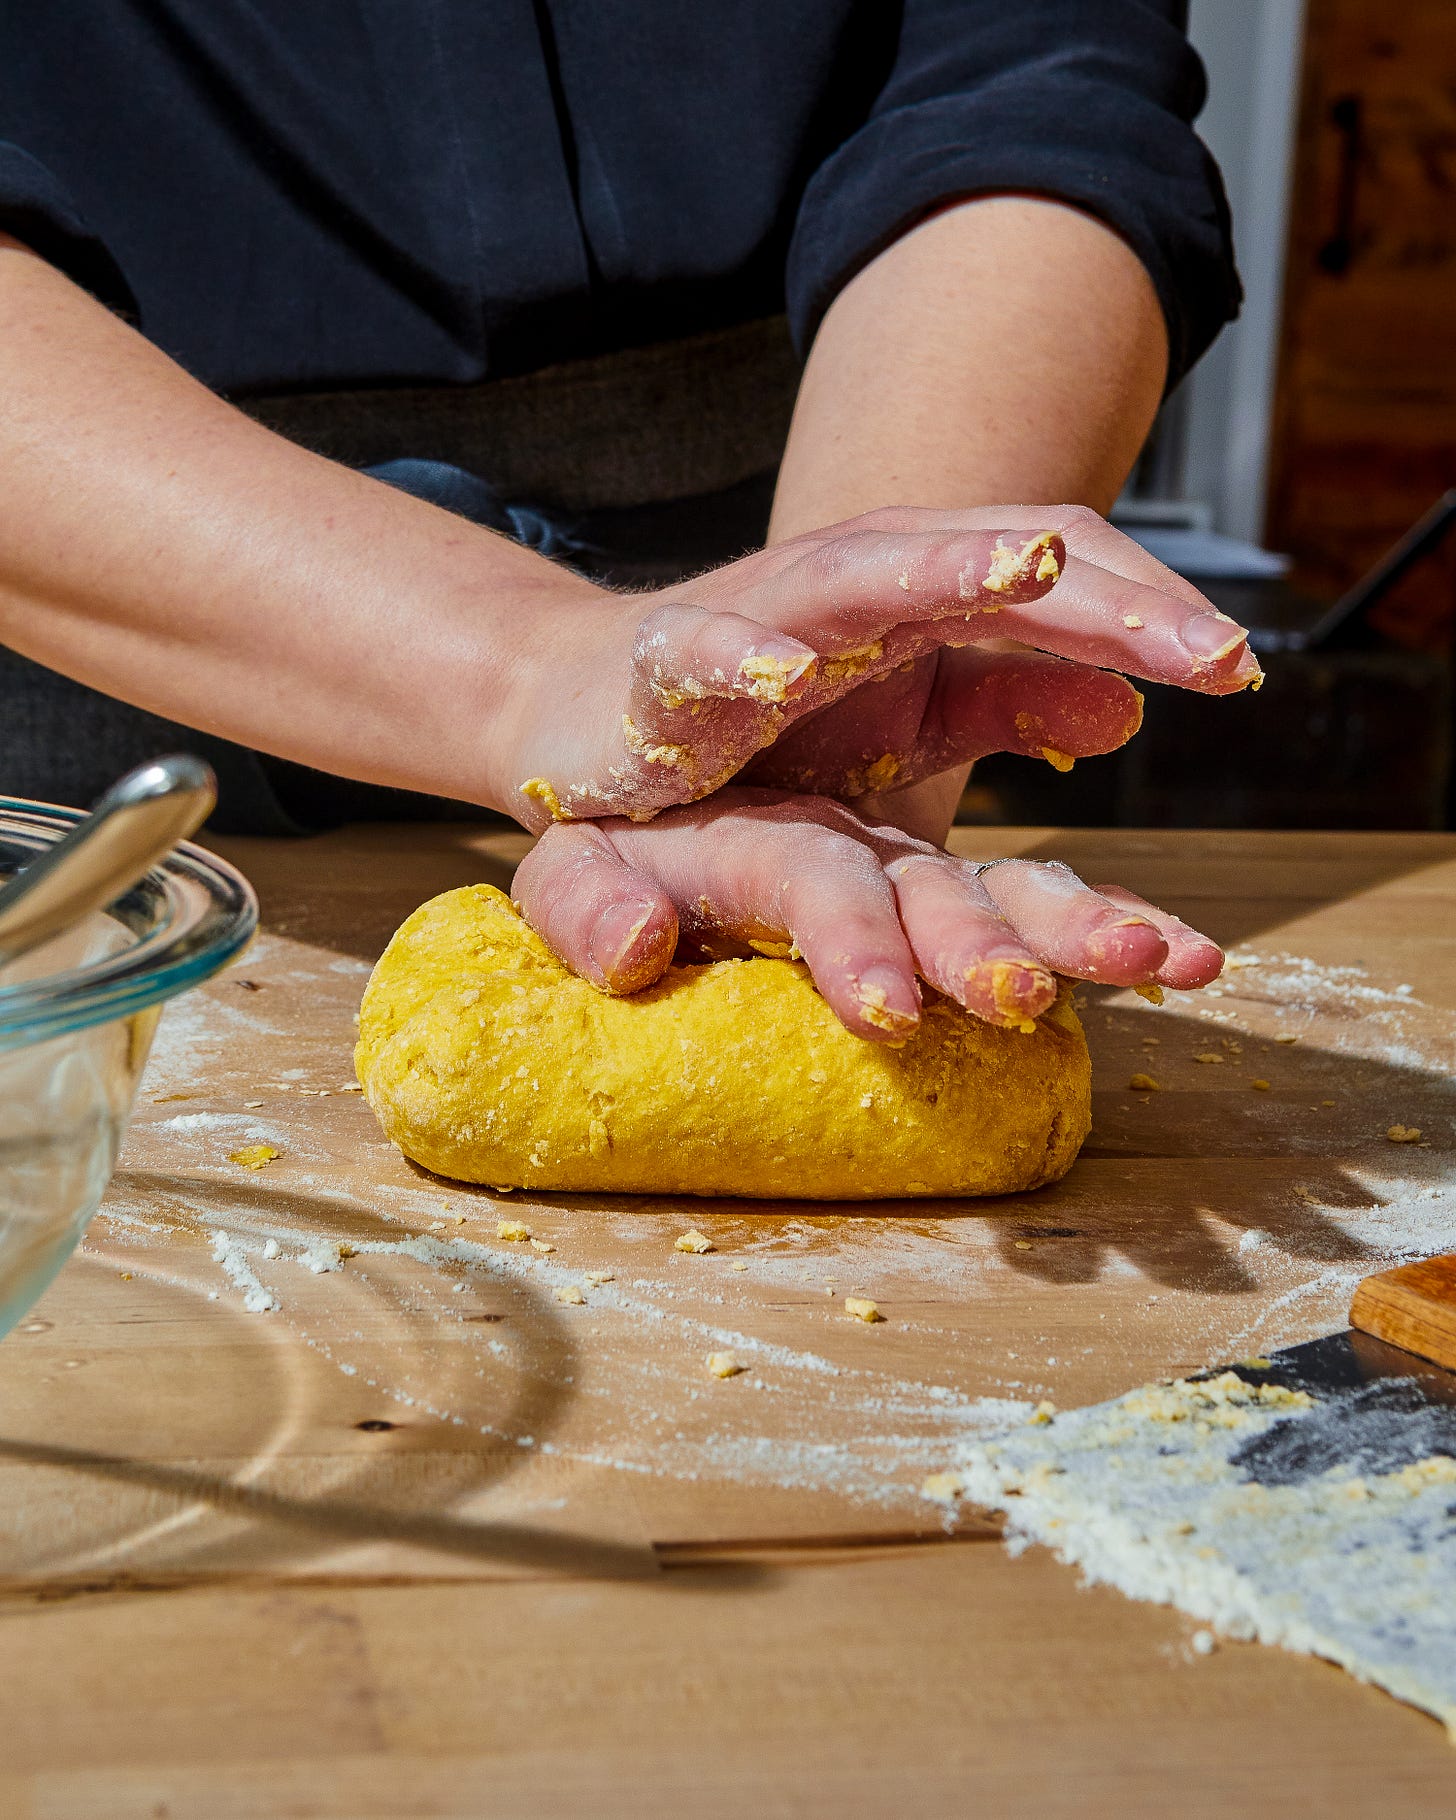
Knead the dough: If you’re working in a bowl, transfer the mixture to a work surface. Knead the dough vigorously until it comes together, about 5 minutes—you can’t overwork pasta dough, so have at it. After the first couple of minutes, if it feels very dry or sticky, add a little bit of water with your fingers or a dusting of flour (it’s important to wait before adding anything; often the dough will sort itself out during kneading). Clear away any dry and flaky pieces.
When the dough is mostly well-combined but still a little rough-and-ready, wrap it tightly in plastic wrap and let it rest for 5 to 10 minutes. Then unwrap it and knead again until it’s smooth and firm, about 5 minutes more. (This two-part knead results in a smoother dough but you can also skip the first rest period and knead for about 10 minutes straight.) It should not be dry (cracking, crumbling) or sticky; it’ll feel like dense, heavy play-doh. When it springs back from a light touch to the surface, it’s good to go.
Rest the dough: Wrap the dough tightly again and let it rest at room temperature for about 30 minutes (a short rest period of 20 to 30 minutes is preferred for dragged shapes like orecchiette, but most doughs can rest for up to a couple of hours). If storing overnight, refrigerate and bring it to room temperature before use.
Using the Food Processor
If I’m not making dough by hand, I opt for the food processor, which quickly and easily brings the ingredients together before kneading. Here’s how to do it:
Add the flour(s) and liquid(s) to a food processor fitted with the steel blade. Pulse in short bursts until the ingredients are evenly distributed and beads of dough form, scraping down the sides of the bowl as needed. The mixture should look more or less like couscous and come together easily when pressed. If it’s a little dry, add a teaspoon of water and pulse again; if it’s sticky, sprinkle in some more flour. Turn the mixture out onto a work surface and knead and rest as directed above.
Now, let’s make some pasta!
All photos in this post are by Mackenzie Smith Kelley except the first and the last, which are by Nico Schinco for my cookbook, Pasta Every Day.

